DAJ Fine Woodworking <br />603-356-9080
  • Welcome
  • Blog "THE BOARD ROOM"
  • Architectural Millwork
    • Casework & Cabinetry
    • Entertainment centers
    • Closets
  • Furniture
  • Contractor services
    • Commercial
  • Testimonials
  • Artistic Pieces
  • Bio
  • Contact
  • For sale;
  • coverage areas

Cutting Corners

11/18/2012

0 Comments

 
Picture
In a project like this it requires alot of mitered corners of varying degrees of angle.
Years ago I came across this simple little process that makes doing these types of joints fairly simple to achieve.
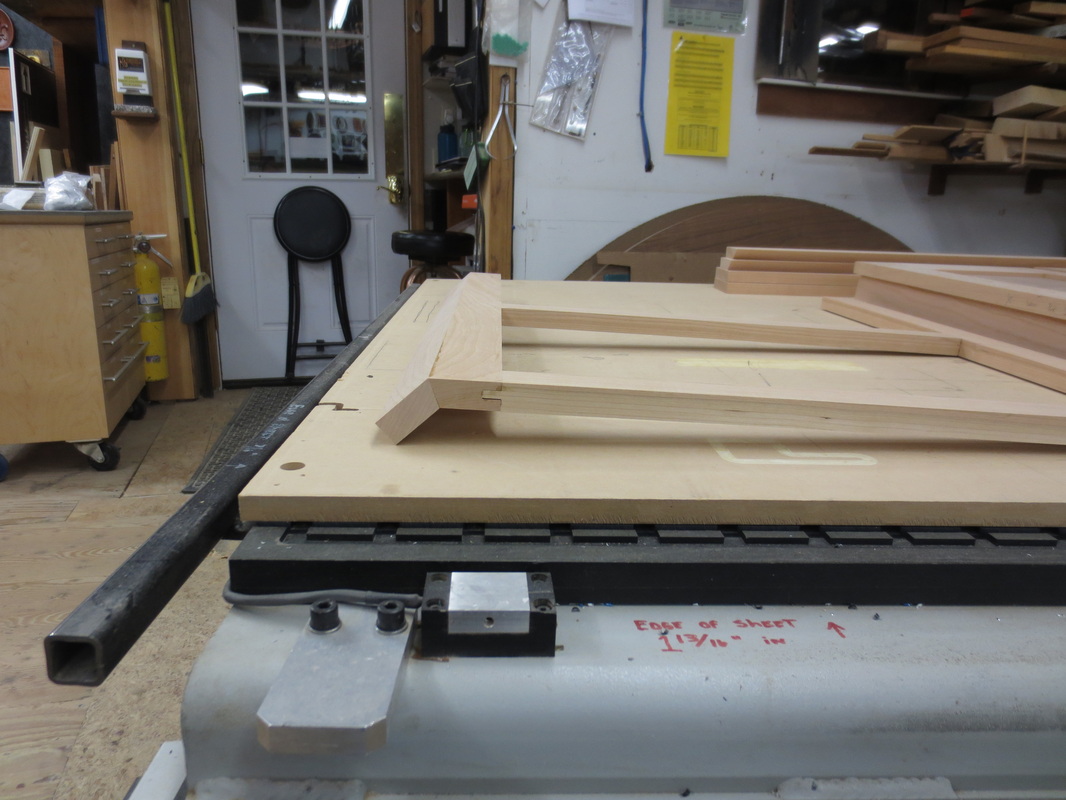
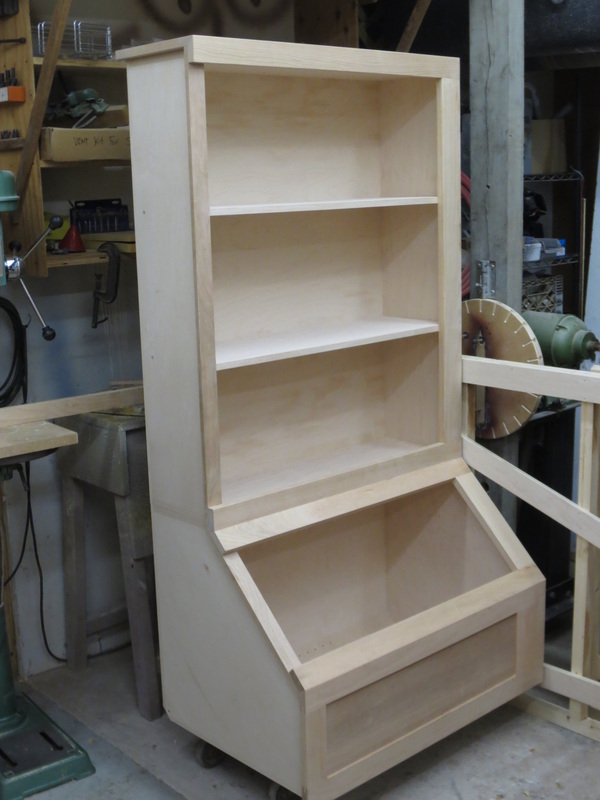
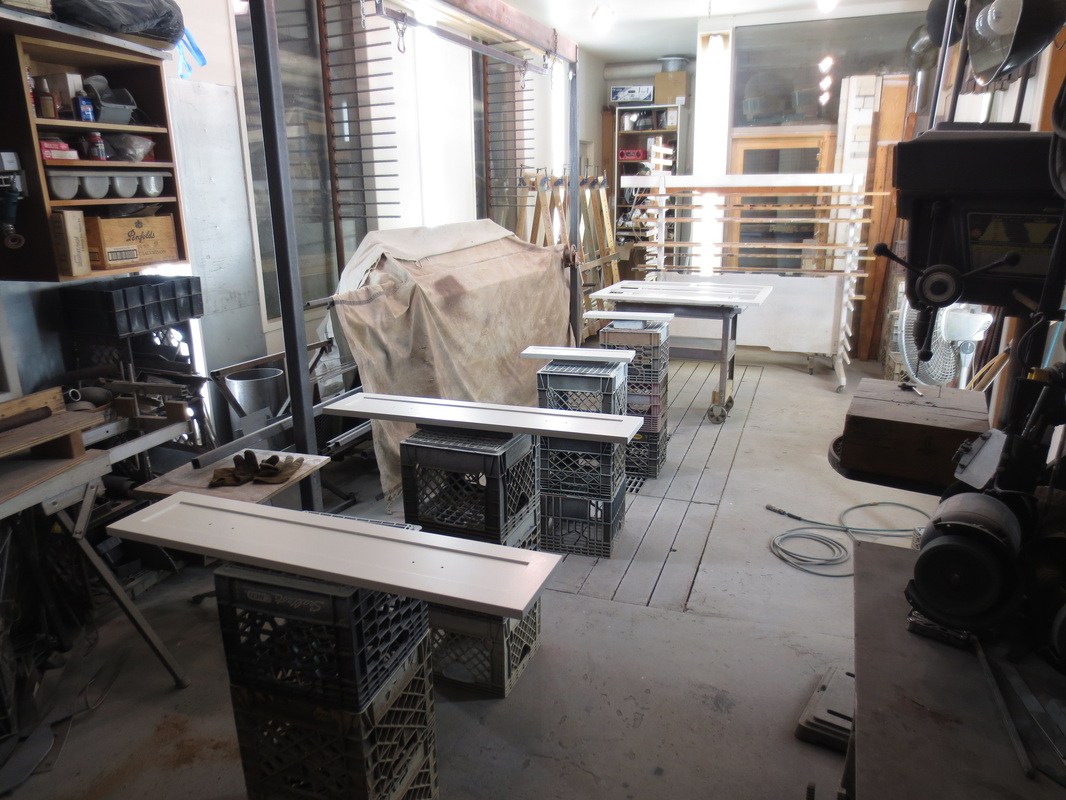
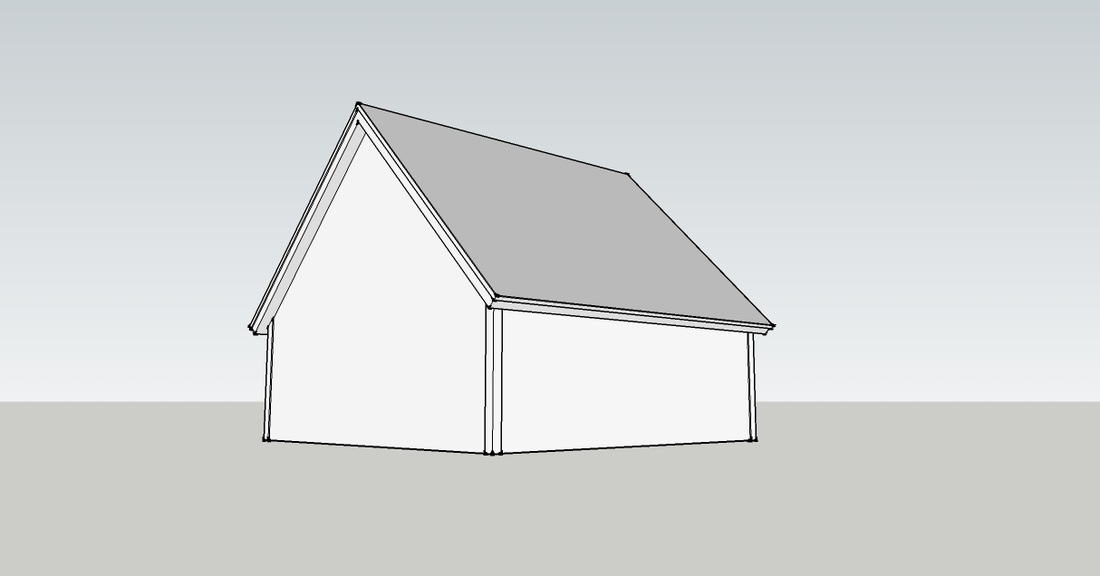
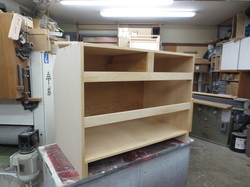
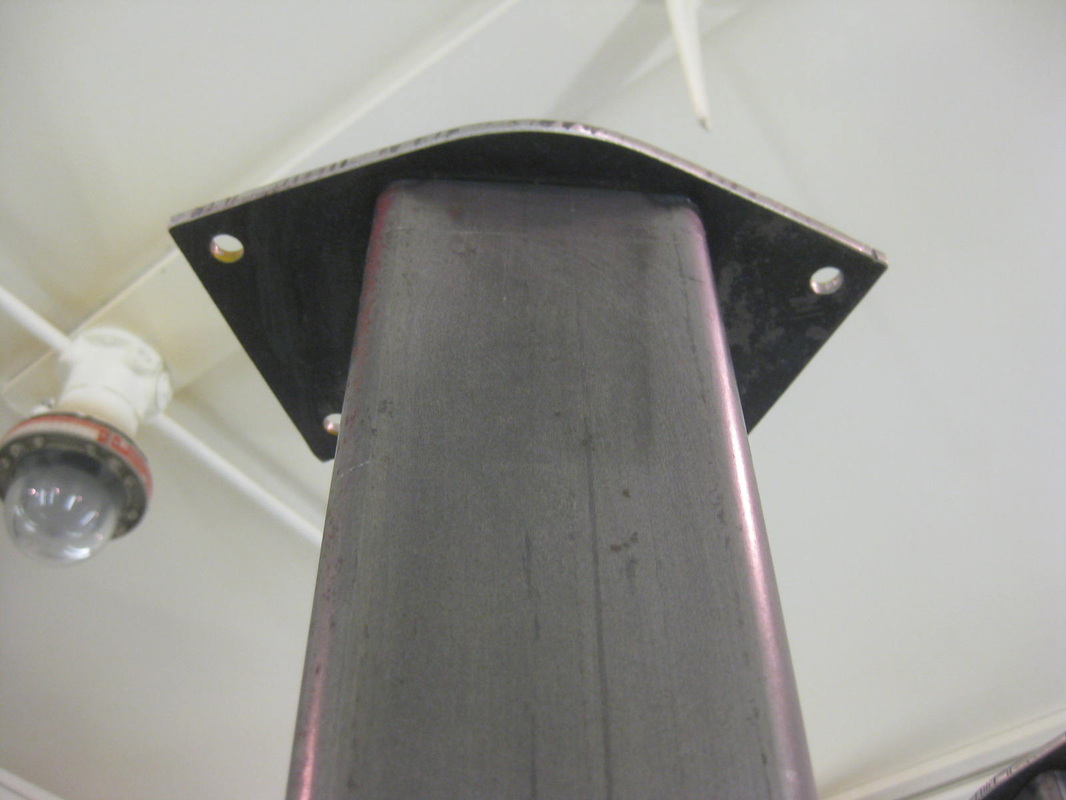
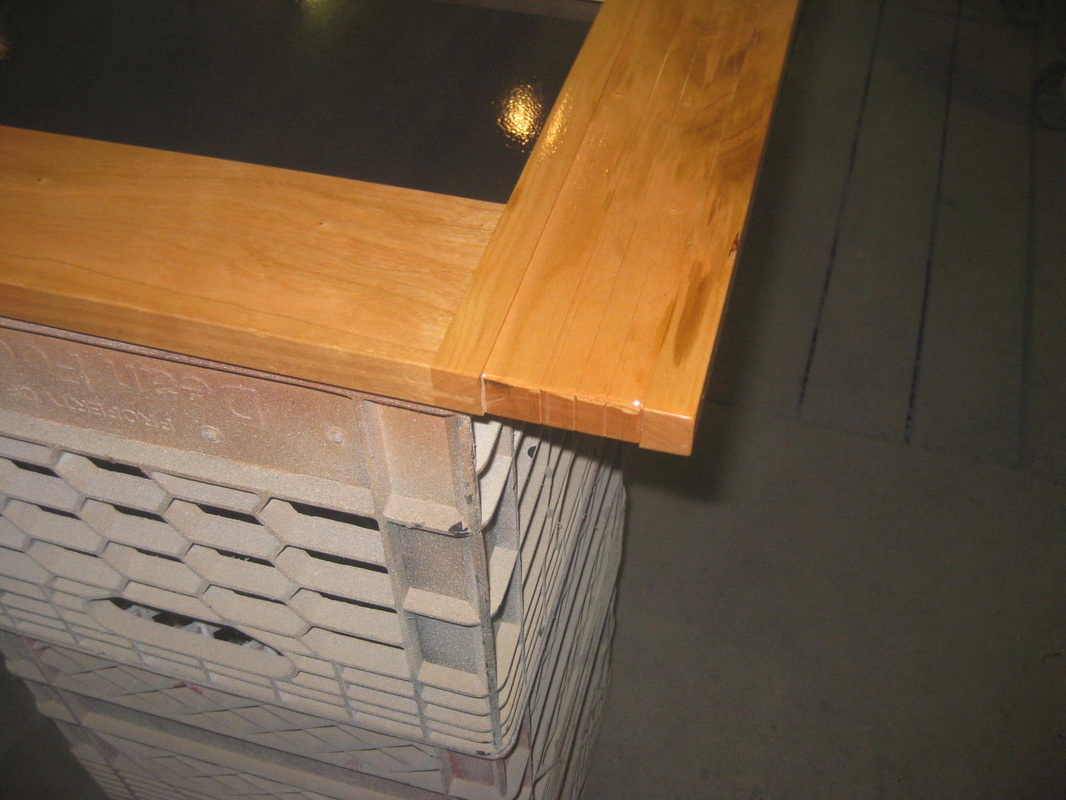
In this photo you can see that the panel section of this wall is actually wrapped around the end of the wall as well as the base kick being wrapped around.

Picture
I'll use the base kick as an example of this process.
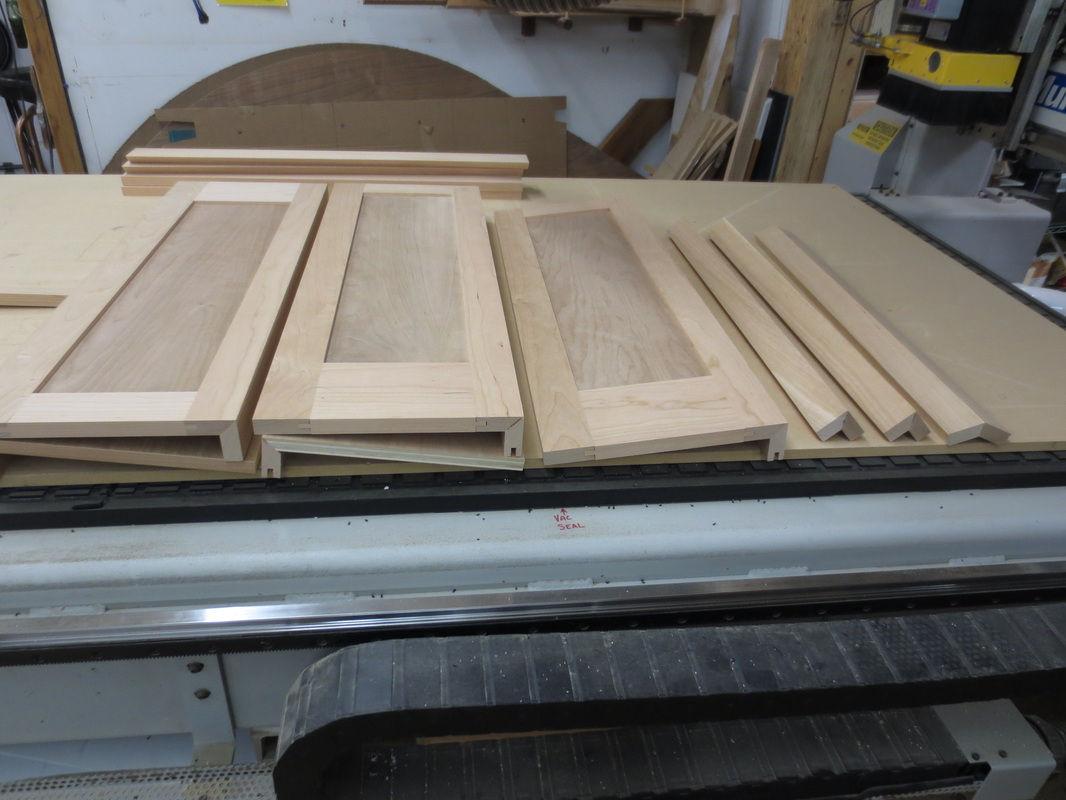
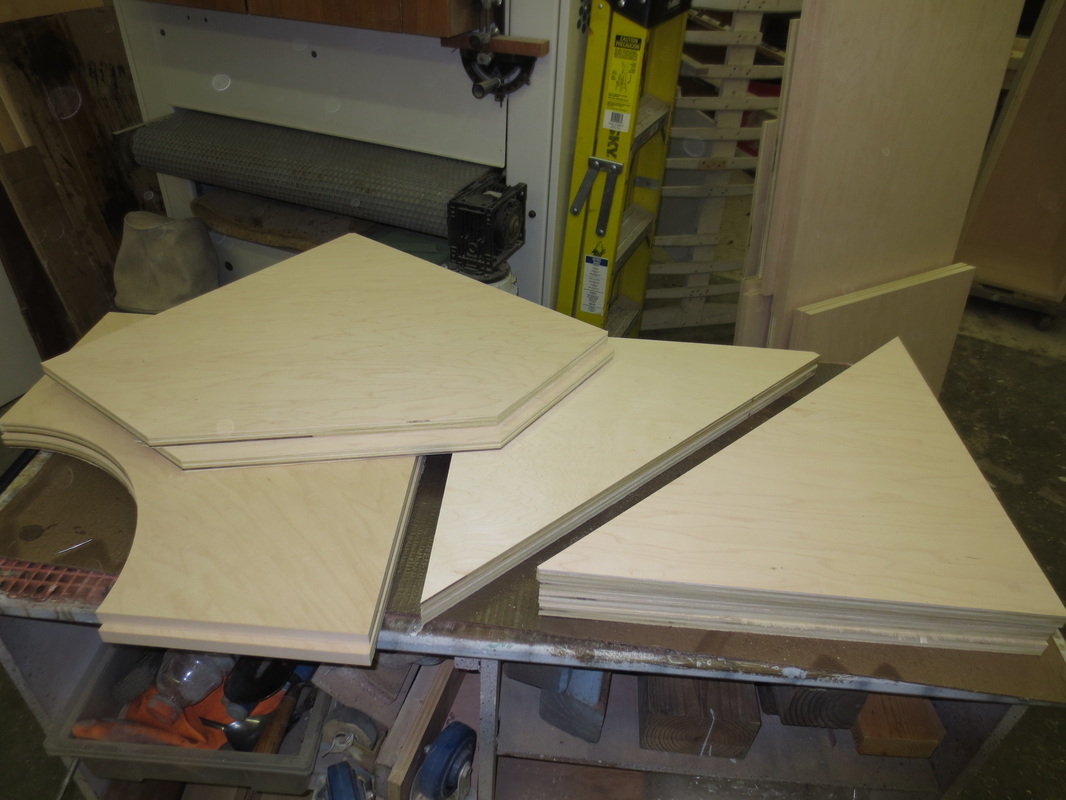
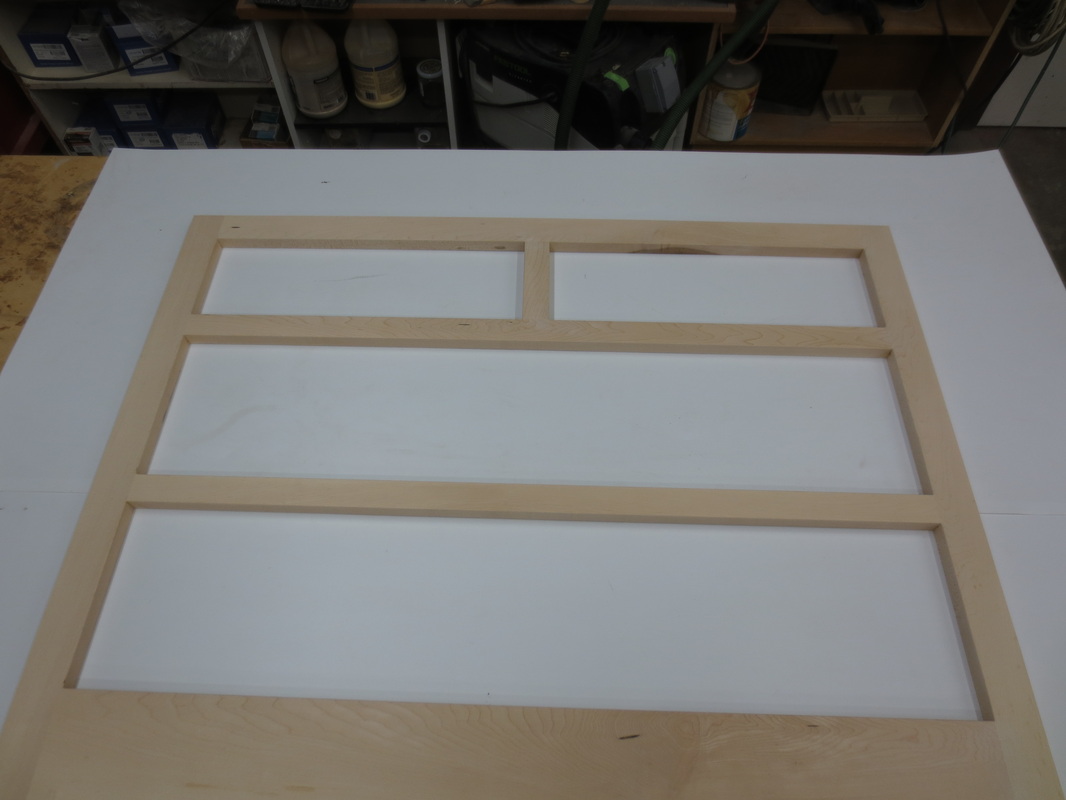
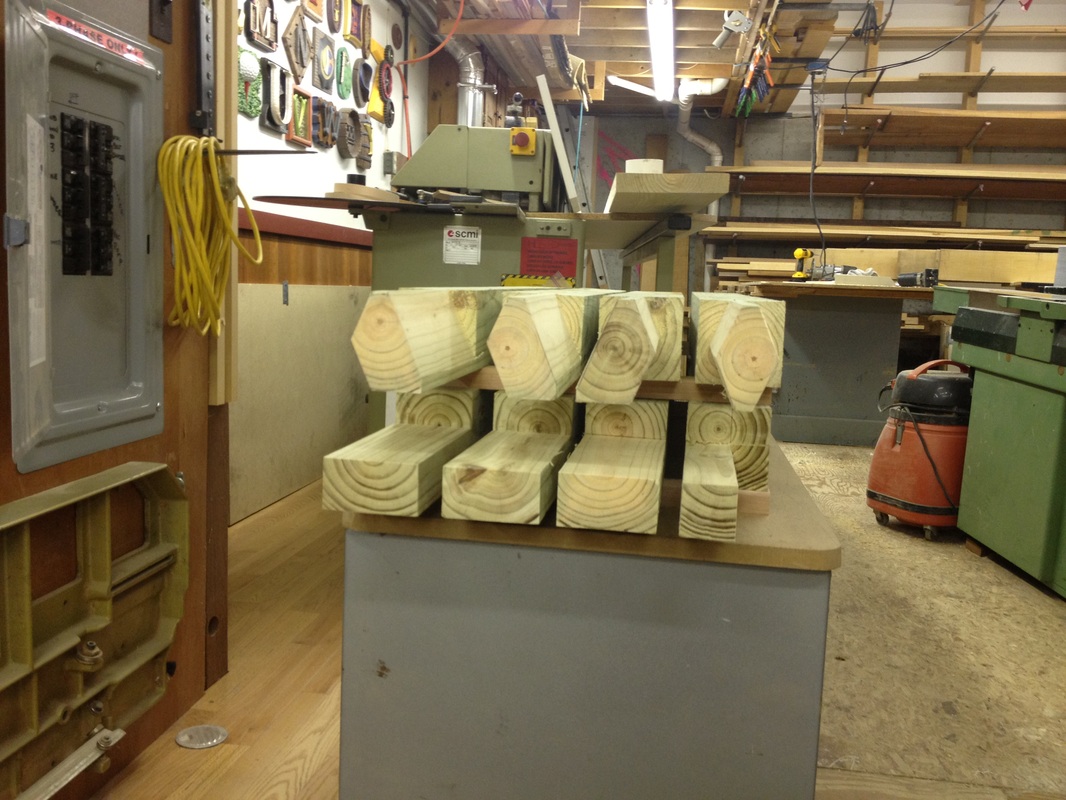
1st pre-cut the parts in question, as you can see there are three parts that will get wrapped, each cut with a 45 degree bevel on the ends.
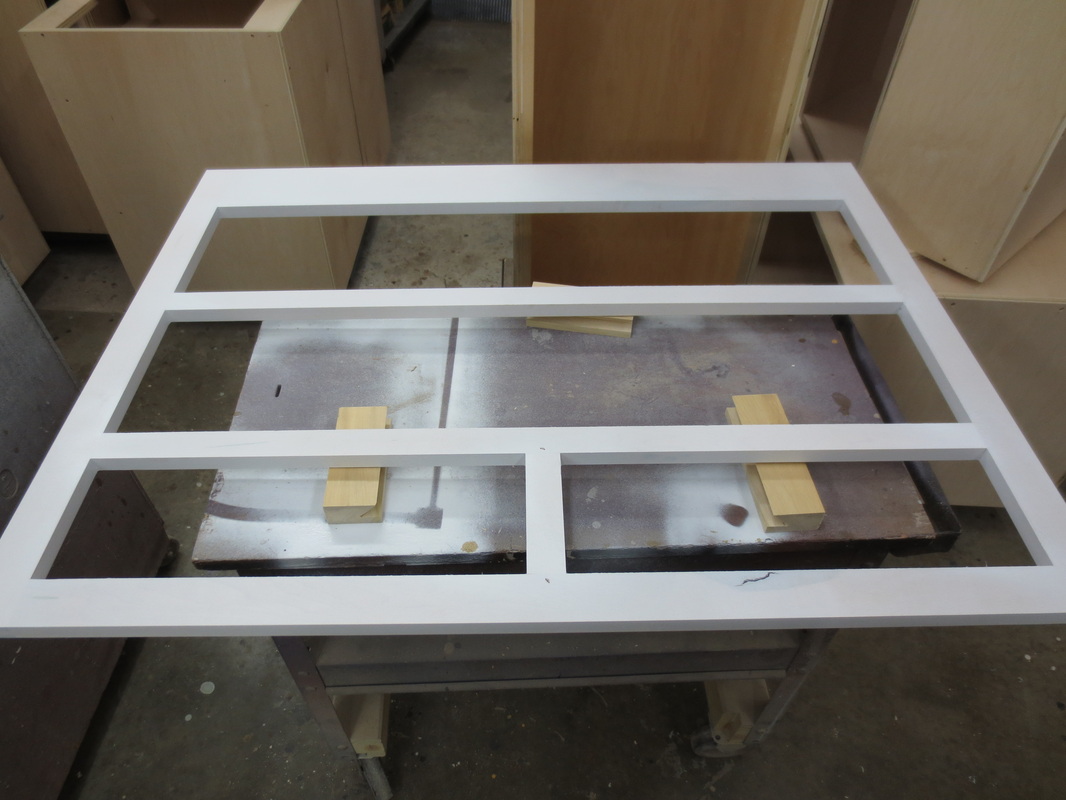
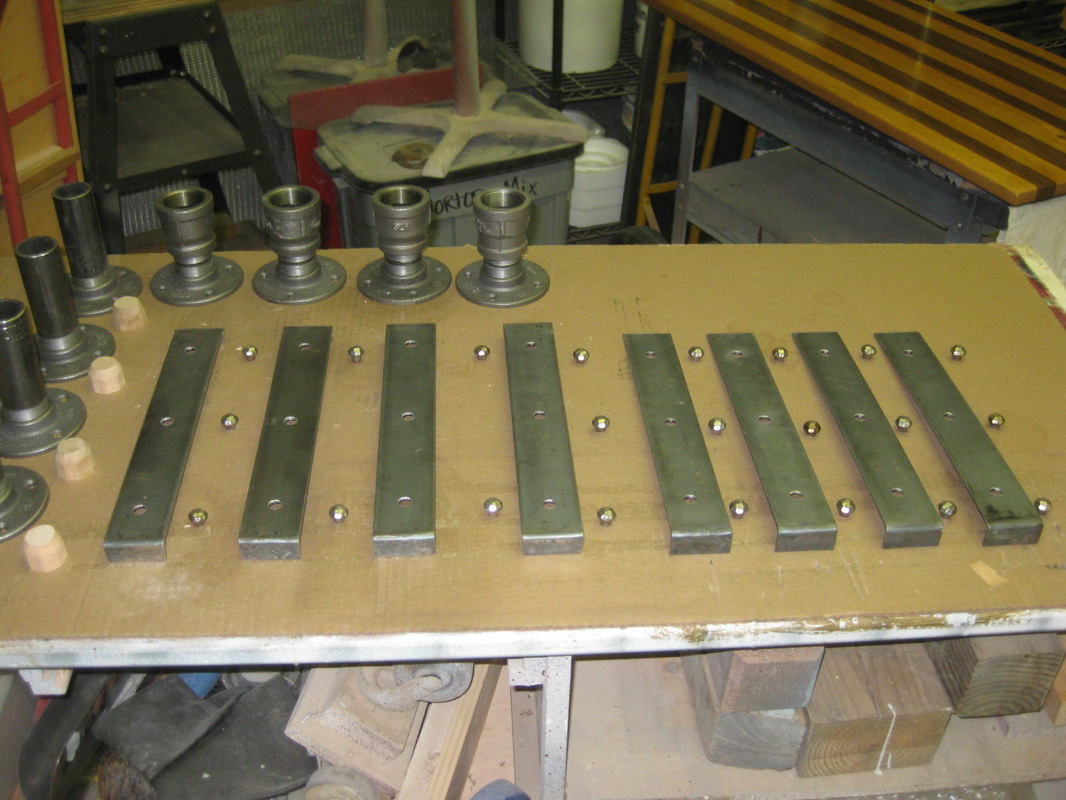
 I place these parts face up with the points of the mitres touching, then using a clear packing tape I tape over the joint and the tape now acts as a hinge.
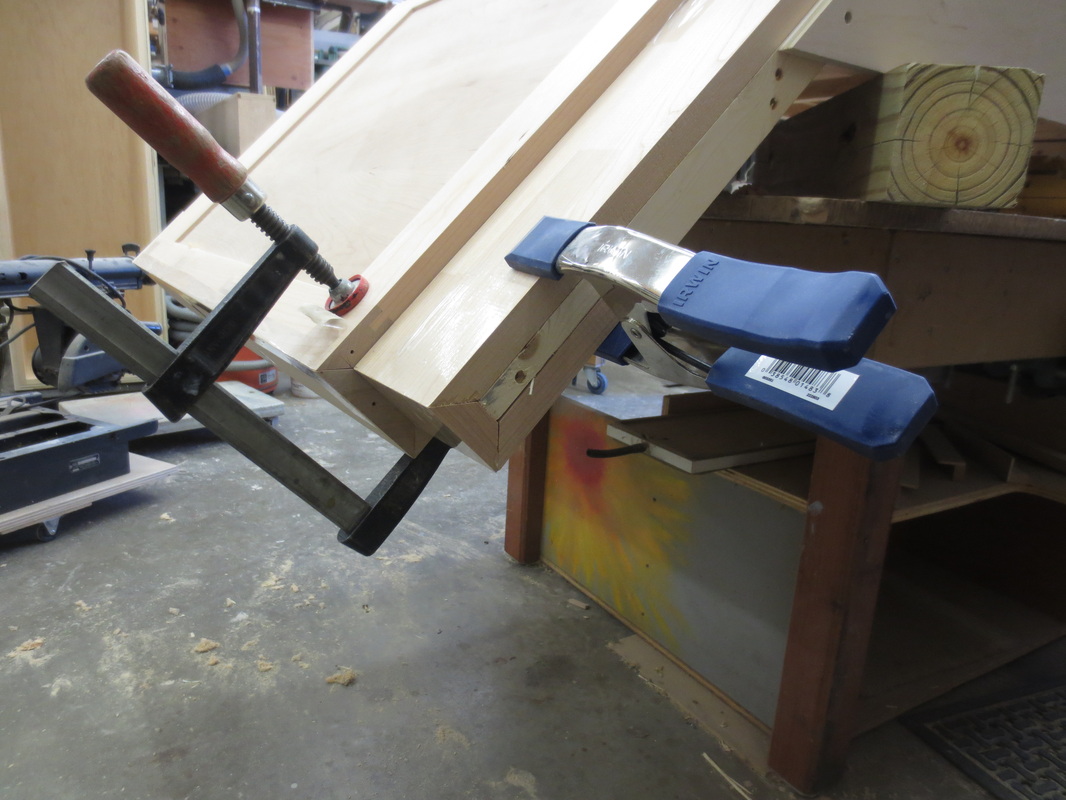
I flip the parts over as you see in the above picture, then apply glue to the inside of the joint and fold the whole assembly around the end of the wall, clamp in place and wait for the glue to dry.
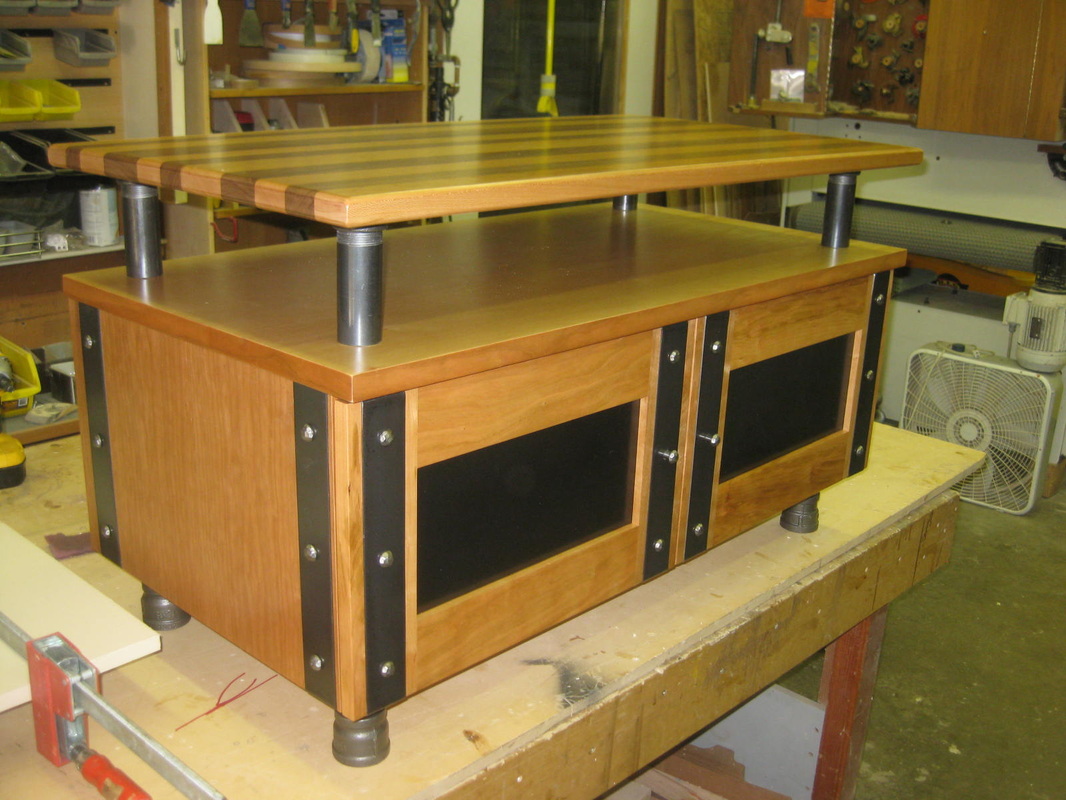
Whala! a nice clean and solid joint, no nails , mortises, fasteners etc. Some sanding and ready for finishing.


Picture

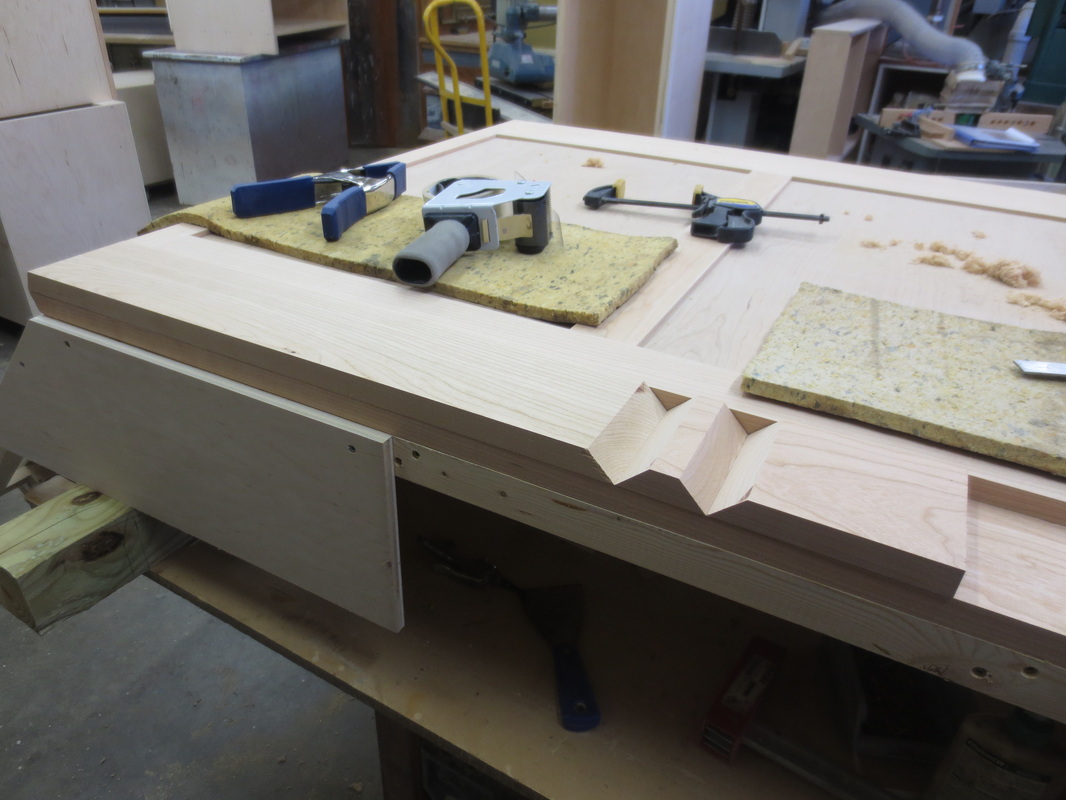
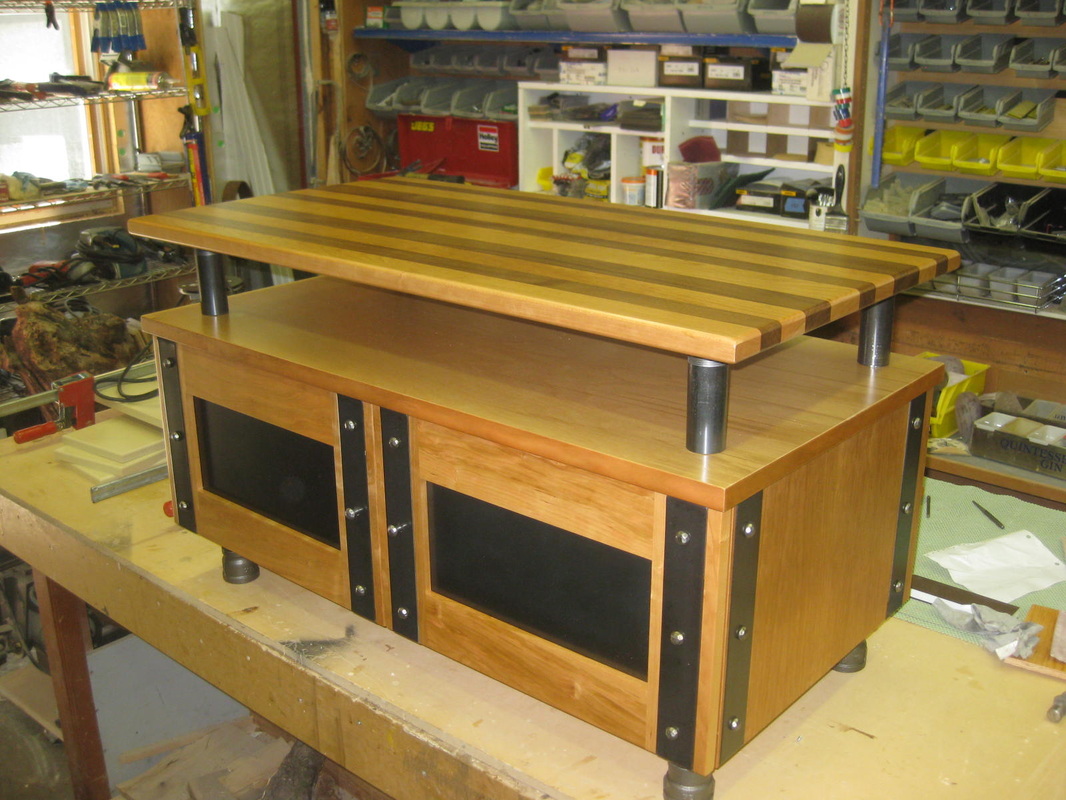
The beauty of this system is that the tape dosen't care what angle you use.
Here you can see a 45 degree corner done in the same fashion.
A word of caution, Inside corners are a little more difficult due to the fact that the glue squeezes out of the joint as you fold it together so use minimal glue on a inside Miter.
Happy Mitering

0 Comments

Let's Face It.

11/15/2012

0 Comments

 
Picture
We've discussed all the parts involved in the fabrication of the Cabinet Boxes.
Now I start to work up the face frame and finished end panel parts. ( basically all the Cherry components that get attached to the boxes.)
The part count for the face &  panels is 153 this gives us a total of 331 parts on the list.
In this shot I have taken rough cherry stock flattened it, thickness planned it, straightened one edge, ripped it to the correct width and jointed the ripped edge to remove the saw marks on pieces that will have both edges exposed.

Picture
From here these dimensioned pieces get cut to the exact length and beveled if necessary, tennons cut into the ends of some and groves or mortises into others, and the list goes on.
Pieces get assembled sanded and applied to the cabinet boxes.

Picture
this is a wall unit actually standing on it's end, sanded and ready for finishing. (you're looking at the bottom of this unit.)

Picture
Other pieces get assembled into components that are part of the kitchen design. Here is the Island back wall that will be the eating area of the kitchen. ( this space is designed to accomodate 6 guests at the bar top.)

I'm almost ready to start the finishing process, More to come:

0 Comments

PARTS IS PARTS

11/12/2012

0 Comments

 
Picture
Another project that is in progress in the shop is a custom  Kitchen job.
 The first step in the process once all the design work is complete is to create a parts list for the sheet stock ( plywood etc. for the cabinet boxes) transfered that to a cut list software that gives me my cutting layouts by sheet.

Picture
Then I start making sawdust, utilizing the tablesaw and edgebander I work through almost twenty sheets of maple plywood.
These odd shaped parts are easier for me to cut on the cnc router and edge band by hand.

Picture
once the assembly of these parts is complete the shop starts to fill up a bit.
To get to this stage there are 178 parts cut from my cut list. This is just for boxes and shelves.

Stay tunned more parts to come.

0 Comments

Getting Primed to finish

11/12/2012

0 Comments

 
Picture
This paricular piece is getting a clear finish on the maple cabinet carcass, and all the exposed surfaces are getting painted to match the interior trim of the house.

Picture
In order to make the transition from clear to painted I keep the face frame separate from the carcass and apply it after it is primed and painted.
These two shots are after the face and drawer fronts were sprayed with a latex primer.

Picture
Once primed I sand with fine paper, vacuum off the dust and spray two coats of the latex finish paint.
Here are the parts in the spray booth, I'll let the paint cure for a few days before I finish assembling the Cabinet, with latex the longer it sits the harder it gets.

0 Comments

Ist Fall drawing class in the history books

11/9/2012

0 Comments

 
Picture
This drawing is somewhat of a typical project we would work on in my classes, The majority of my students are Carpenters and contractors that have limited Computer Experience.

Picture
In this 1st class of the season I had some students that were seasoned computer users and not Carpenters.
We took an approach to the class from a more engineering stand, by creating parts that cold be used in a more mechanical enviroment.

Picture
When learning the techniques needed to create drawings you just need to break down your projects into individual shapes, parts and pieces. Then given the knowledge learned in class you know what tools to use to draw these components.

I try to tailor my classes to my students and the level of experience.
0 Comments

Few And Far between.

11/5/2012

0 Comments

 
Picture
I've had a few projects going in the shop and I get so involved that I loose track of the value of showing processes that aren't that exciting to me.

Picture
This is a face frame for a drawer unit I'm doing for a Interior designer www.highcountryhome.net/ for one of their clients.
This piece is going to get painted to match the trim in the house it will be installed in, The green panels are made from moisture resistant MDF ( medium density fiber board ) I use mdf in this type of application because it is a very stable product , and it takes paint very well. There is no grain to telegraph through the paint so you can achieve a very smooth finish when spraying.

Picture
This is the Carcass that the above face frame will get  mounted to, The interior of this piece will be clear finished maple and the drawers will be solid maple dovetailed drawers on soft closing drawer sildes.

stay tuned fo more progress on this and other projects underway in the shop

0 Comments

He was Framed

8/5/2012

0 Comments

 
Picture
Over the past couple weekends  a group of guy's from this area and I went to Vermont to help out one of my past employees build a woodshop and home for he and his wife.
We started on a friday morning.

Picture
This was the end on day one.
All the first floor woodshop walls were up and ready for floor trusses.

Picture
End of day two.
Floor trusses in place and subfloor down.

Picture
And here is end of day Three.
We would of had all the second floor walls up but Mother nature wasn't on our side, The skies opened up with a thunder storm, hail and torrential rains, another 30 mins. and we would of had it done.
The following weekend we started in again on friday and by the end of that day (day Four) we had the roof trusses in place and one side of the roof covered with ply and paper.

Sorry to say I don't have pictures of that, I was in a rush to get back on the road home.

It's fun to help out someone that really appreciates it.

0 Comments

sweating the details

7/22/2012

0 Comments

 
Picture
This is how I get started with a project like this deck I am doing, I first draw it out and figure out all the details using Google Sketch up.
By Taking the Time to do this answers alot of questions before you start to build. It also allows you to show the customer what the project will look like.
 So after careful planning and precutting of  various parts we spent the first day on site yesterday and after a long hot day we were able to get the main part of the deck frame erected, Take a look at the collection of photos below.

It's starting to look just like the drawing.
We'll be back a few nights this week, after the masons and Landscapers are out of the way and the sun starts to fade and continue with the process.
0 Comments

prep school

7/19/2012

1 Comment

 
Picture
I've spent some prep time in the shop, I made up the stand offs (concrete filled pvc spacers), Pre cut the pvc Skirt board that will attach to the house and the first piece of the deck frame that will bolt to the house with the stand offs between it and the skirt board.

Picture
The other components that I'm able to pre cut are the rail posts, These need to be installed as we assemble the deck frame.
Notice the variety of different cuts.This is were drawing things out in Cad ( computer aided design) really helps.

Picture
Previously I have made up the support posts (steel), Primmed and painted them and have installed 3 of the five that will be needed.
Here is a shot of the top of one of the 45 degree corner posts.

The on site work starts this weekend, While the masons and the landscaping crew are out of the way. It's not that I don't like these guy's they just get in the way and I'm sure I'll be in there way.
1 Comment

Family Friends Furniture and the Fourth

7/10/2012

0 Comments

 
Picture
Last week during their Fourth of July vacation My Daughter and her Boyfriend had a request while they were here. A TV stand for their apartment in NYC. Here is the result of the combined efforts of the three of us. ( I also have to give a shout out to her oldest brother for drilling & tapping the custom door pulls).

Picture
A trip to the local big box supply store , some custom metal fabrication , and a few bits and pieces from the shop and whala, it almost looks like a kit.

Picture
Pops ( that would be me) was pretty much in charge of the wood working end of things while the rest of the team cleaned metal , cut rivets , and assembled parts and pieces.
Here is a groove that will accept the metal bands that we fabricated to wrap the doors and end panels. You can also see the door panel is 1/8" steel.

Picture
So in between Story land with the Grand kids,boating,lobster dinners, hikes, a little actual work on my part, cook outs and campfires (with semores of course) It all came together in time to be taken apart and packed into the rental car for it's trip to its permanent home in Manhattan.

0 Comments
<<Previous
Forward>>
    Picture

    author

    I've pretty much had my hands on wood for the most part of my Life. Started in High school, on Marthas Vineyard Mass.Worked under a Father and son Partnership that taught me the valuable foundation of what High End work really is.
    I've taken those fundimentals and put my own spin on things. Today (some 36 years ago as I write this )My shop is located in Northern New Hampshire, where I have followed my philosophy of doing high quality work and delivering more than the
    customer expects.

    Archives

    February 2016
    April 2014
    January 2014
    November 2013
    October 2013
    March 2013
    December 2012
    November 2012
    August 2012
    July 2012
    June 2012
    May 2012
    April 2012
    March 2012

    Categories

    All
    All Decked Out
    And We're Off
    Cherry Kitchen 11 2012
    Cherry Kitchen 11-2012
    Crescent Shaped Cabinet
    Cresent Shaped Cabinet
    Drawer Unit
    Floors
    Flying Desk
    Good Vibes
    Home Sweet Home
    Or On Depends How You Look At Things
    Trade Shows Are Us
    Wall Or Not A Wall

    RSS Feed

Powered by Create your own unique website with customizable templates.