DAJ Fine Woodworking <br />603-356-9080
  • Welcome
  • Blog "THE BOARD ROOM"
  • Architectural Millwork
    • Casework & Cabinetry
    • Entertainment centers
    • Closets
  • Furniture
  • Contractor services
    • Commercial
  • Testimonials
  • Artistic Pieces
  • Bio
  • Contact
  • For sale;
  • coverage areas

On to The rails

4/22/2012

0 Comments

 
Picture
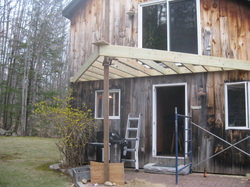
Back at it this weekend, I was able to get the decking on with the exception of the outside band.
I rough cut the decking at the edges at about 3/8 " larger than the finished cut, I wanted to allow the material to acclamate and shink a little before I made the final cut. I'll let this sit for a week or so and then make the final cut and install the outside band of decking.  With all the decking options I chose to go with stk( solid,tight,knot) 5/4 x 6 cedar. With the composites costing nearly tripple and the fact that I just don't like how the composites look after the age, I opted for real wood. The deck I removed was about 18 yrs old and the decking stk cedar was still solid.

Picture
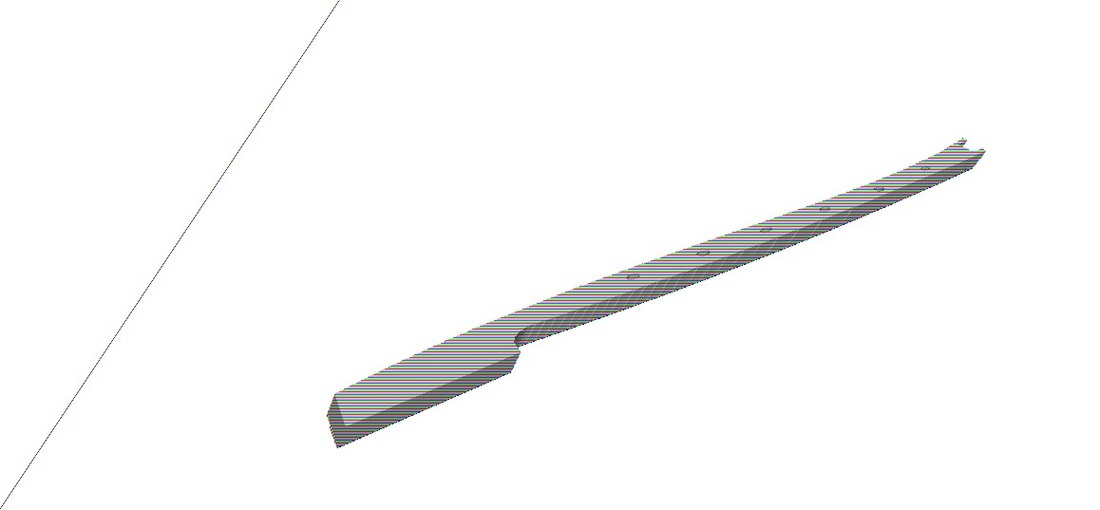
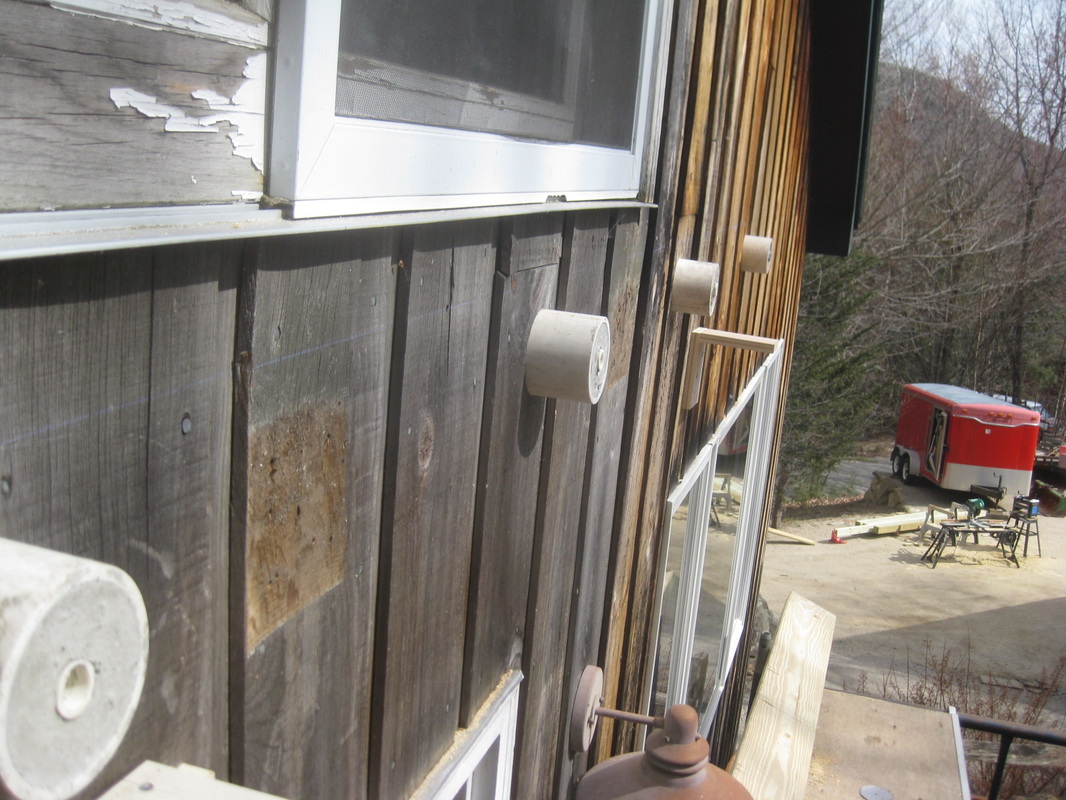
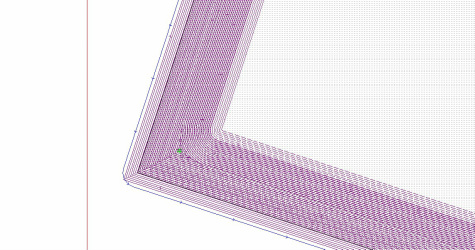
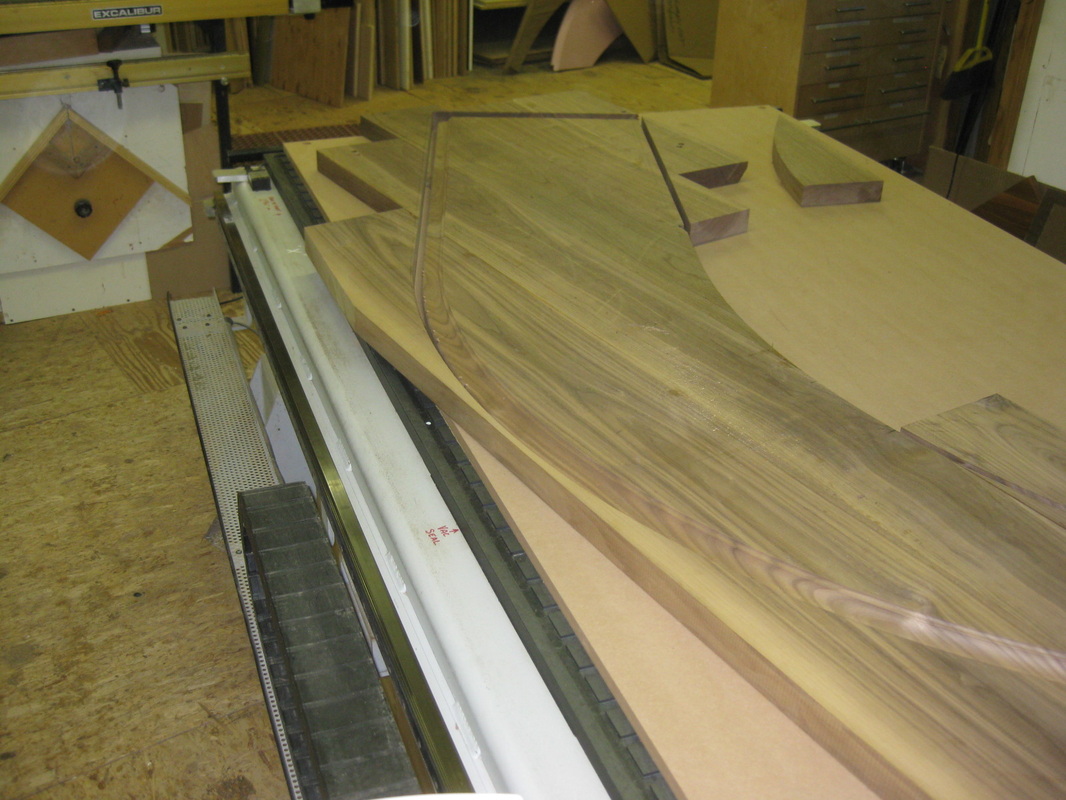
I have been going back and fourth with the type of rail system I wanted to use. I designed this simple but unique post using my Enroute software and I will cut these out on the Multicam CNC router.  The section to the left is the bottom end which will get thru bolted to the deck frame perimeter ( six on each side about 24" on center).  If you look close these posts will have holes drilled (by the router) I plan on getting 1/2" bark or vine textured steel bars that will be inserted horizontally through the posts. This will get capped off with a sub rail and a cap rail of the same cedar used for the decking.

0 Comments

DECK THE HALLS.

4/17/2012

0 Comments

 
The weather was cooperative and I was able to make some good progress on our deck this past week.
Picture
I had the materials delivered and using the drawing I did in sketch-up, I was able to pre cut all my parts. This shot shows a jig I made to put a dado in the ledger that mounts to the wall of the house. This dado accepts the joists for the deck frame.

Picture
This is the Stand off deck mounting system (DAJ'S DECK MOUNTING SYSTEM . INGENUITY) I've been using for a few years now and seams to work very well. I start with a piece of 3" pvc pipe and a piece of 1\2' pipe, I make a jig to hold the 1/2" pipe in the center of the 3" and pour concrete in the 3" pipe. Then I drill a hole that (fits the 3"pipe) through the siding and I'll lag bolt the deck ledger through this stand off into the framing of the house. Note that I bed the stand off in urethane caulking to seal out any water as I install the system.

Picture
This was at the end of day one!
Kim assisted me with the two long outside pieces (what a trouper!)

Picture
End of Day two!  Joists in place, support for post dug in, concrete poured and a granite block set up to grade, cut and tappering the support post.

Stay tunned for more thrilling action!!!!!!

0 Comments

Flying Desk

4/11/2012

0 Comments

 
Picture
This desk is one I had built a few years ago and I decided it needed some TLC.
The Original desk top was glued up Then the client decided he wanted it larger in width and length, so rather than make a whole new top I decided I'd try to add a walnut band around the perimeter.
I sort of knew that the possibility of failure was great due to the fact that the expansion rates of cross grain and long grain are so different. Well I was not disapointed! This piece failed as expected. So I recently
remade the top and replaced the original. ( this picture is showing the replacement top. 

Picture
But The really cool thing about this piece is that there are no legs  under this desk. ( the post you see in this picture is actually the stair hand rail in the background.) The steel frame that is exposed is bolted to the wall and the desk floats out in space.
( one of the advantages of having a welding shop incorporated with woodworking shop).

Picture
This is the finished project. There are three drawers (two on the right and one on the opposite side of the desk) located in this apron that covers the steel frame.
The champered box under the desk is there to hide wiring etc. it's hinged to the wall and swings out of the way for easy access.

0 Comments

Right Tools For the job

4/5/2012

0 Comments

 
Picture
I have invested in equipment that assists me in the process of taking rough lumber and processing it to achieve high quality Professional finished pieces.
This shot shows a desk top of Cherry and Walnut being finish sanded utilizing my 37" wide belt sander .

And above are some pics of the top with the first coat of sealer applied.
    NOTE*  This is the bottom side of this piece.
Stay Tunned and you'll see who I can make this float in mid air.
0 Comments

Tip Top

4/1/2012

0 Comments

 
The installation of the base cabinets for the Crescent shaped piece went well.
The cardboard template I previously cut fit relatively well, I made some notes on the template and will adjust the drawing in Enroute to reflect the variances.
With the adjustments made to the drawing it's time to prepare the top for cutting.
I never really went through the process of building a file like this before so this would be a learning process for sure.
Picture
This top is intended to be about 1-3/8" thick and have a OGee profile around the exposed edges.  With Enroute I have the ability to design and cut any profile I like and It's not dependent on the shape of the bit.
So I take the shape of the actual top and create a flat relief the thickness of the finished top, Then I draw the shape of the profile for the edge and extrude that profile along a path that I draw on the top.

Picture
The next step is to tool path the top and the profile. The top is pretty straight forward, then I draw a outline around where the profile is and use that as a mask or guide to tell the software that I only want the bit to cut the detail of the profile without traversing the entire piece. (as this would take many hours of cutting Time) In this screen shot of the tool path each of the purple lines represents a pass of the bit.  this tool path is set up for a 92% overlap which means every pass only cuts 8% of the width of the bit.

Picture
Here is the piece still on  the router table / cut.

Picture
And a close up of the Ogee edge detail.
Now it's off the table some final sanding and finishing.

0 Comments
    Picture

    author

    I've pretty much had my hands on wood for the most part of my Life. Started in High school, on Marthas Vineyard Mass.Worked under a Father and son Partnership that taught me the valuable foundation of what High End work really is.
    I've taken those fundimentals and put my own spin on things. Today (some 36 years ago as I write this )My shop is located in Northern New Hampshire, where I have followed my philosophy of doing high quality work and delivering more than the
    customer expects.

    Archives

    February 2016
    April 2014
    January 2014
    November 2013
    October 2013
    March 2013
    December 2012
    November 2012
    August 2012
    July 2012
    June 2012
    May 2012
    April 2012
    March 2012

    Categories

    All
    All Decked Out
    And We're Off
    Cherry Kitchen 11 2012
    Cherry Kitchen 11-2012
    Crescent Shaped Cabinet
    Cresent Shaped Cabinet
    Drawer Unit
    Floors
    Flying Desk
    Good Vibes
    Home Sweet Home
    Or On Depends How You Look At Things
    Trade Shows Are Us
    Wall Or Not A Wall

    RSS Feed

Powered by Create your own unique website with customizable templates.