Although these aren't the best quality pictures they do give you the Idea.

|
|
|
Although these aren't the best quality pictures they do give you the Idea.
0 Comments
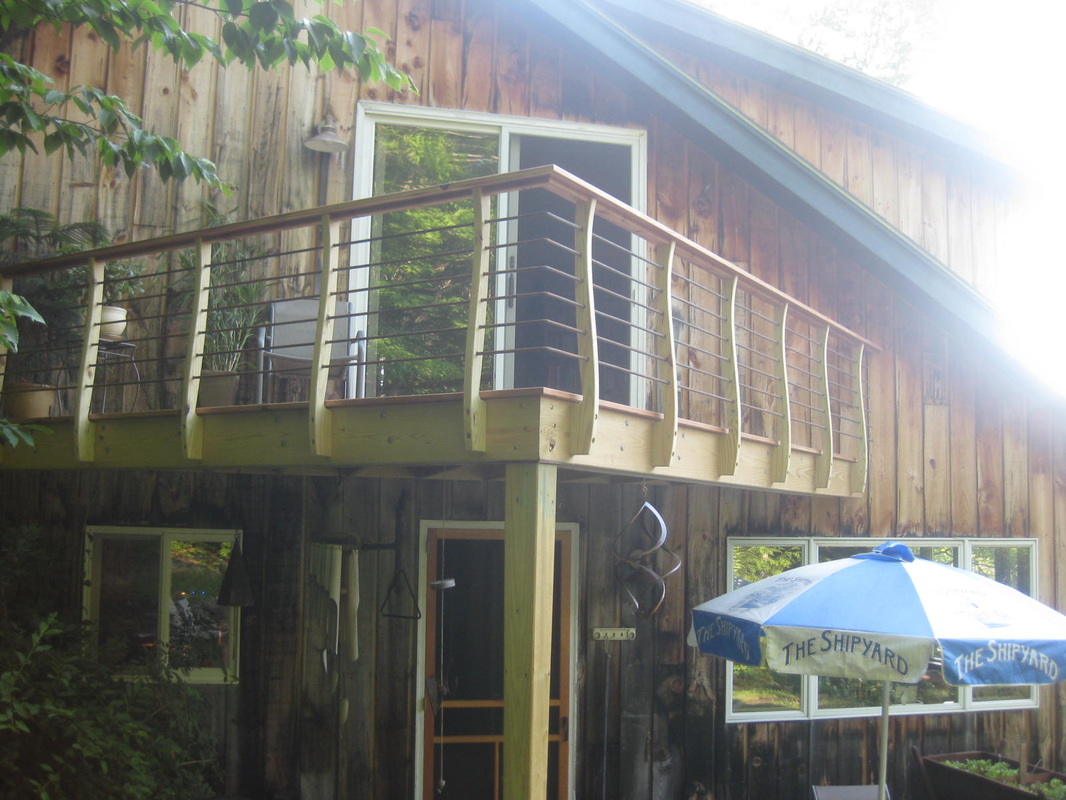
 These are the horizontial dividers that are to be threaded through the rail posts I showed in the previous blog post. You Can't see it in this picture but these ballisters have a vine texture on them which will make them pretty interesting. I purchased these from Kings Architectural metals, a great supplier of all things metal. 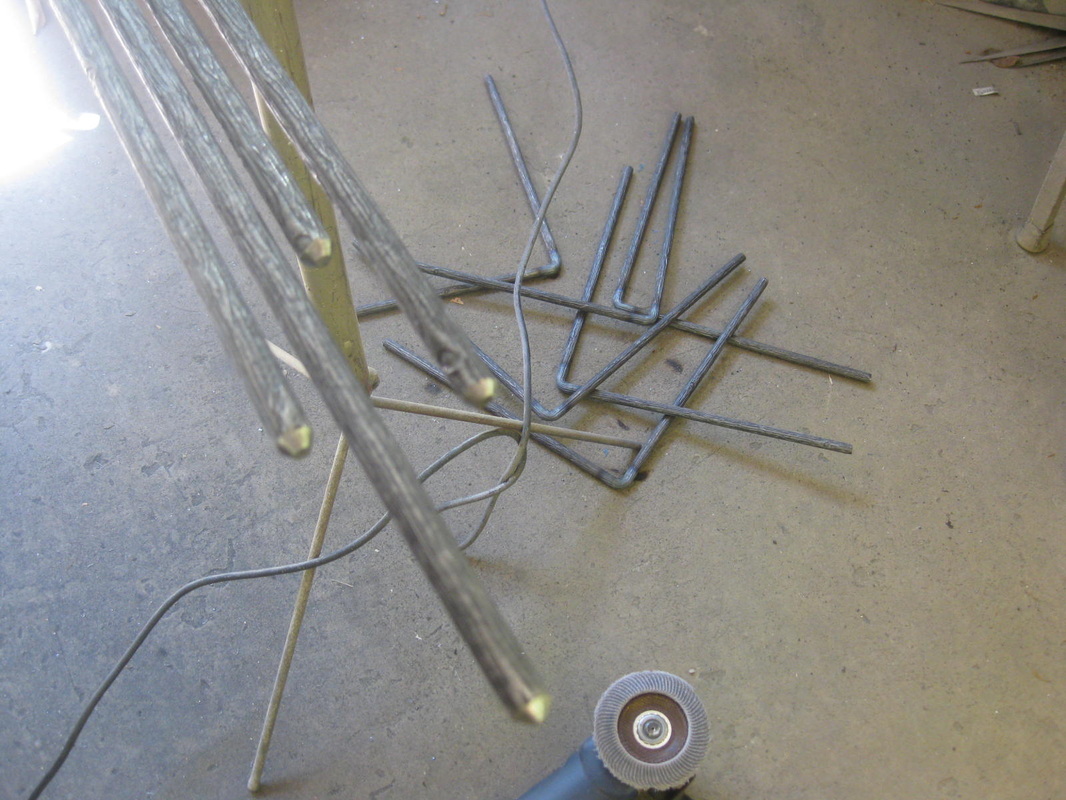 Some Cutting, some bending some welding and these pieces will be ready for installation. As you can see in he foreground of this picture how I have beveled the ends that will be welded together so that I can get a good weld. 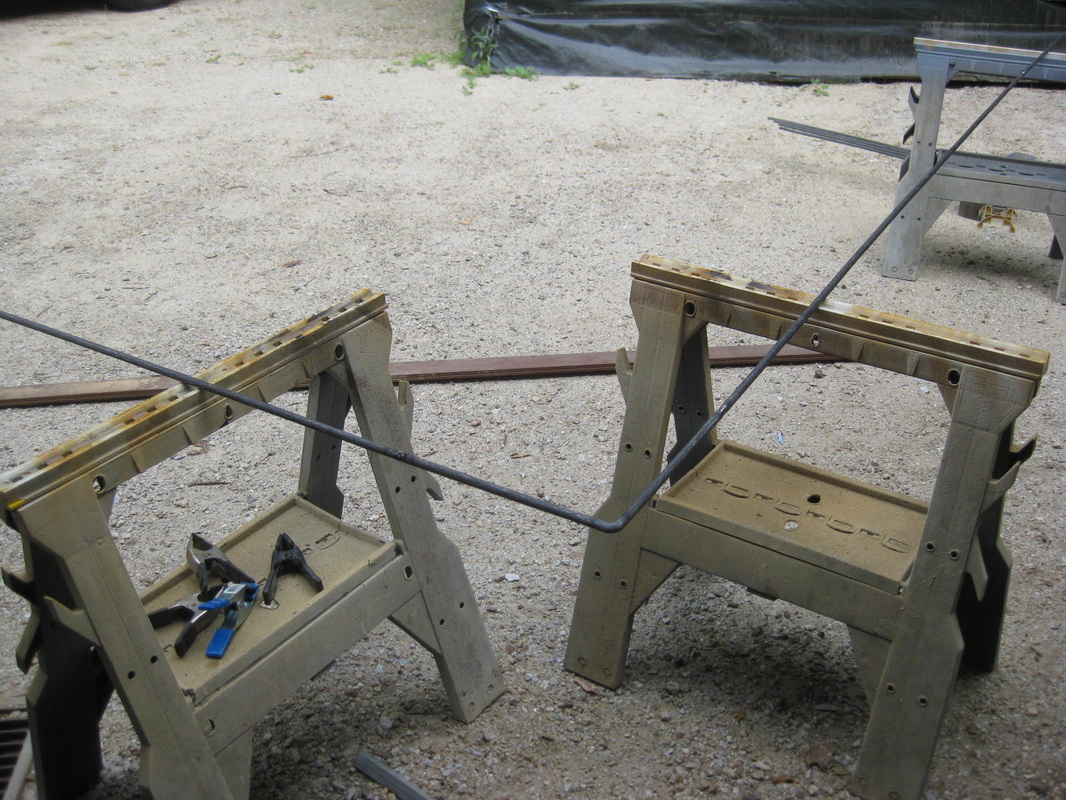 Once each of the horizontial rail sections are welded together they make a right angled piece with each leg being 14' long, so each section is a total of 28' long and there are six of these. The following pictures should help explain this better. 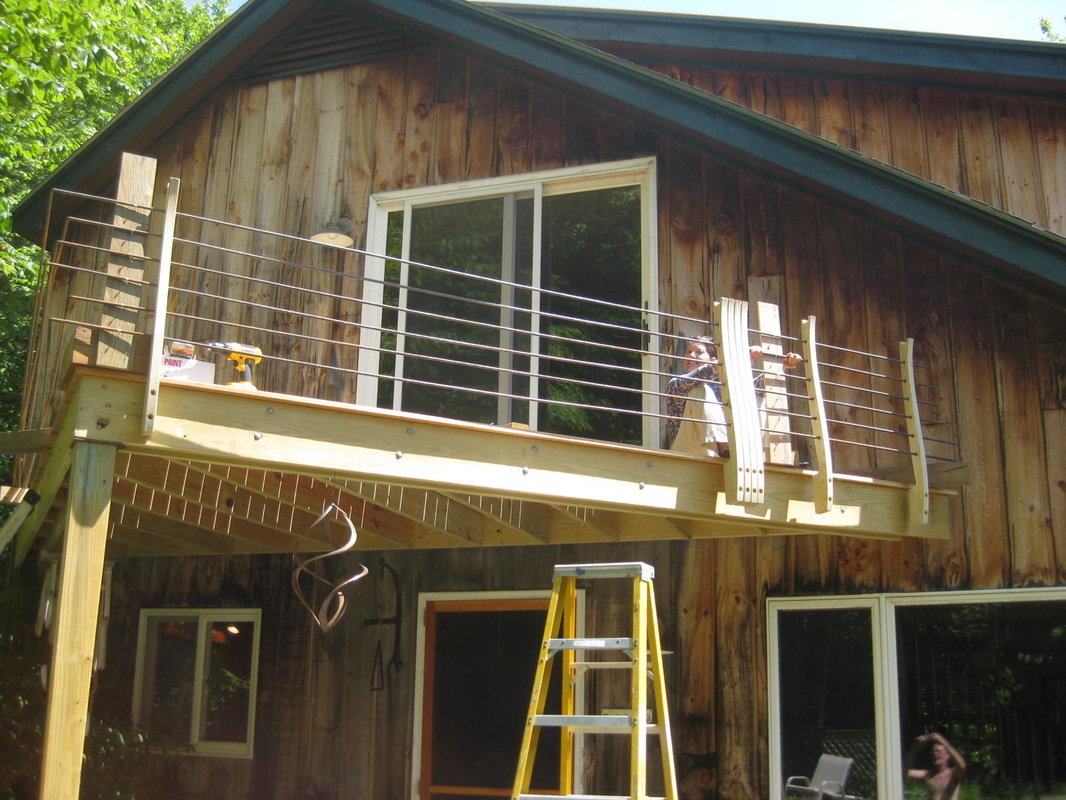 The real trick here was how to get all these parts together and hold them in place while I threaded the rail posts on to the steel rods. I made a couple of dead men that we could set up tempoarily and support the steel rods on screws placed at the correct hieght. The dead men worked flawlessly. 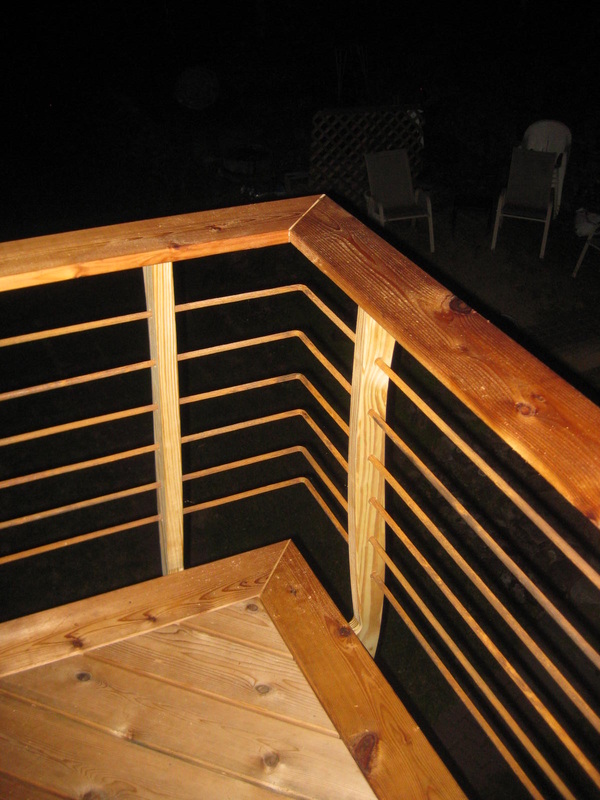 This shot of the outside corner shows the whole system in place.
Prior to installation I wet the steel rods and applied a rust activator. A perfect choice for a finish in this application. No matter what you do, steel outide will rust so why fight it. I'll post some pictures of the finished project when it's day light so you can see the entire view, the results came out better than I'd imagined. 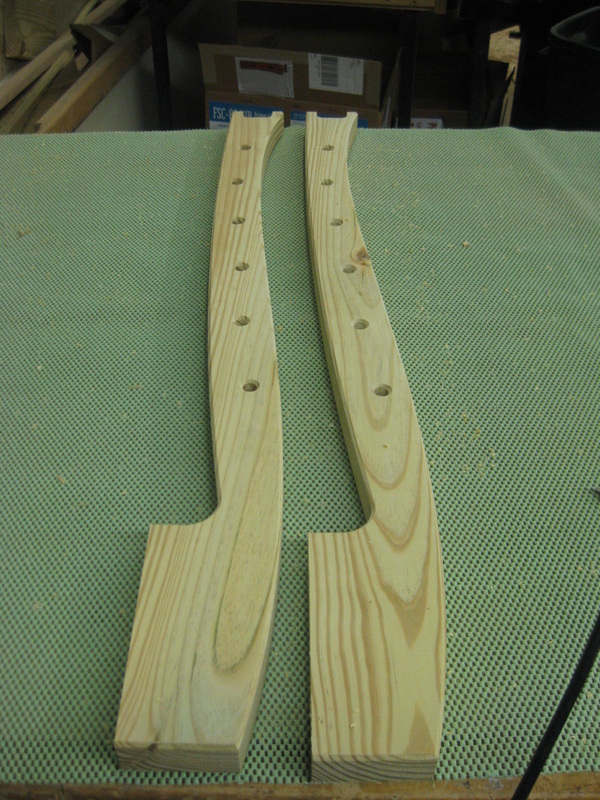 I'm still working on squeezing in the list of projects I have around our house.
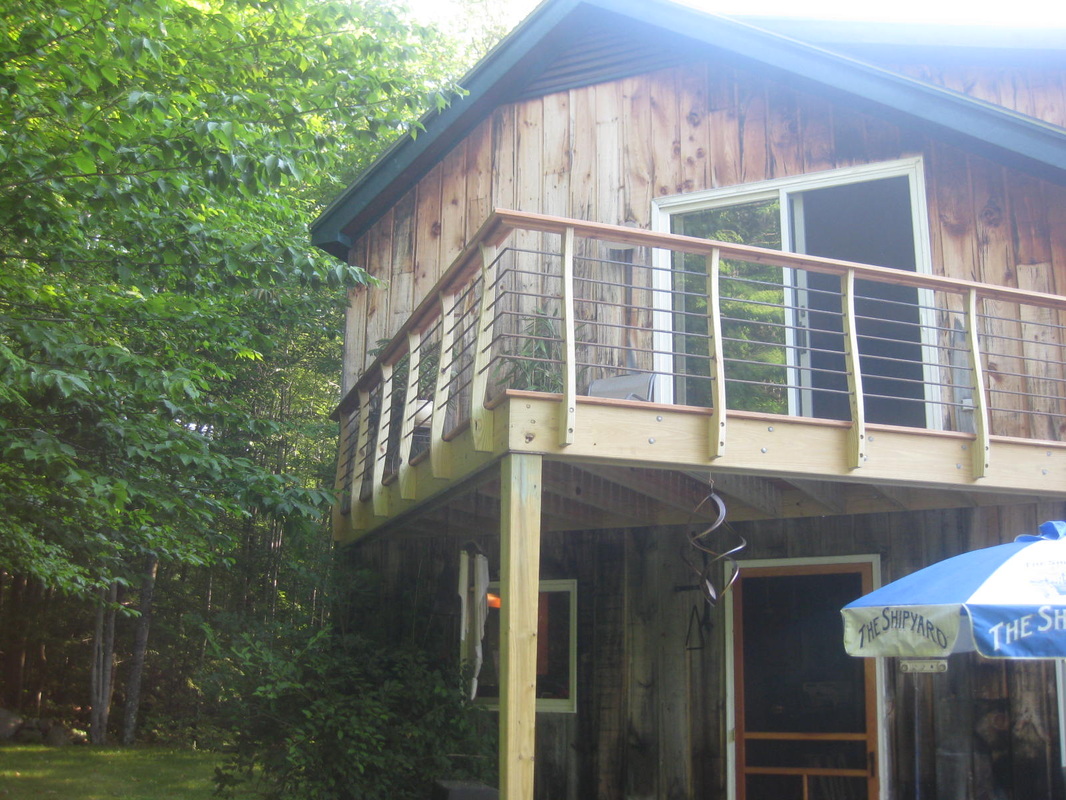
These are the deck rail posts that I cut using my MulitCam CNC router there are 14 of these posts and the all came out exactly the same thanks to the precision of the CNC. The flat part at the bottom gets through bolted to the deck frame and the notch at the top will accept a piece of cedar that will tie them all together , then a Cap rail of 5/4 by 6 cedar for the top. The holes that are drilled through the posts get (vine affect) steel rods slid through which completes the rail system. This should leave us with an open airy feeling deck. We'll see!!  I had a request from a customer to build a wall but no really a wall. He wanted something that made little inpack in the house and would not require studs, and drywall, and sanding, and painting, and all the mess that goes with the above. The solution was to construct a panelized wall that I could completely finish in the shop and in one day install it at the job site and whala!!! instant wall. 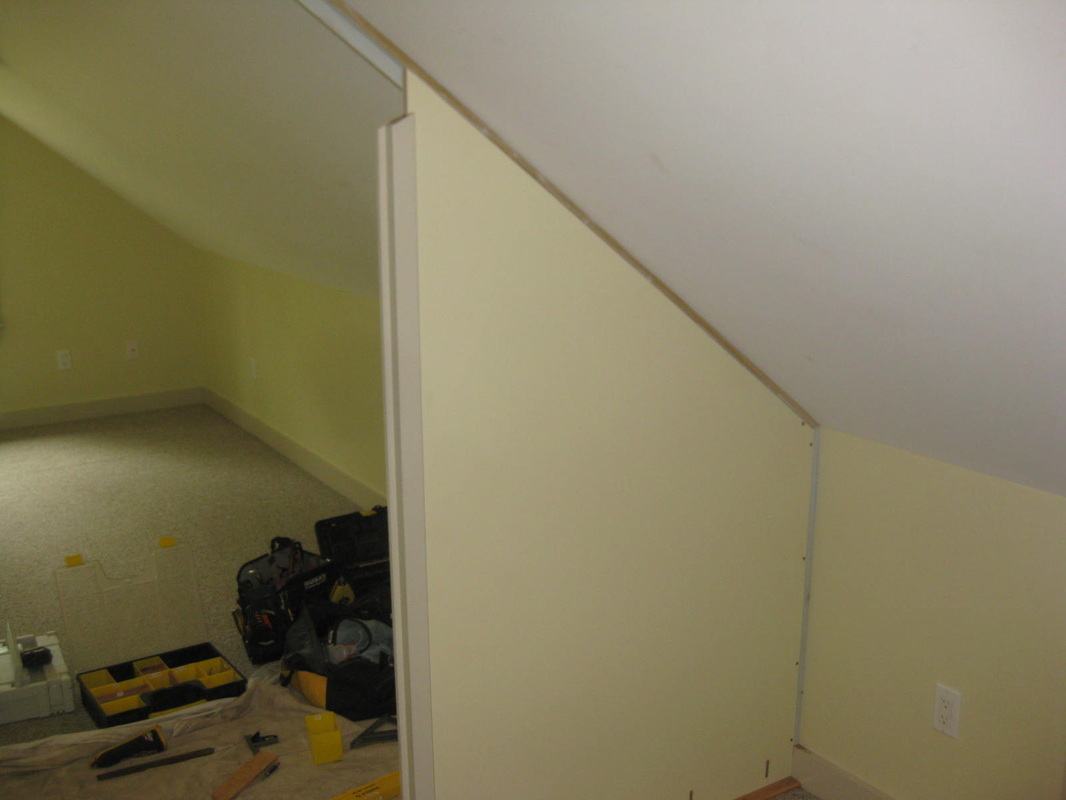 The most important aspect of this project was taking accurate feild measurments. The Floor slopes, the walls aren't plum or striaght, and the roof (ceiling) has a sag in it, what fun! For this type of situation I use a small laser level that will cast perfectly vertical and horizontal lines, I use these lines s reference lines and take measurements from certian critical points to these lines . Then I can recreate these points in a CAD drawing and make my parts using My CAD drawing as a guide. 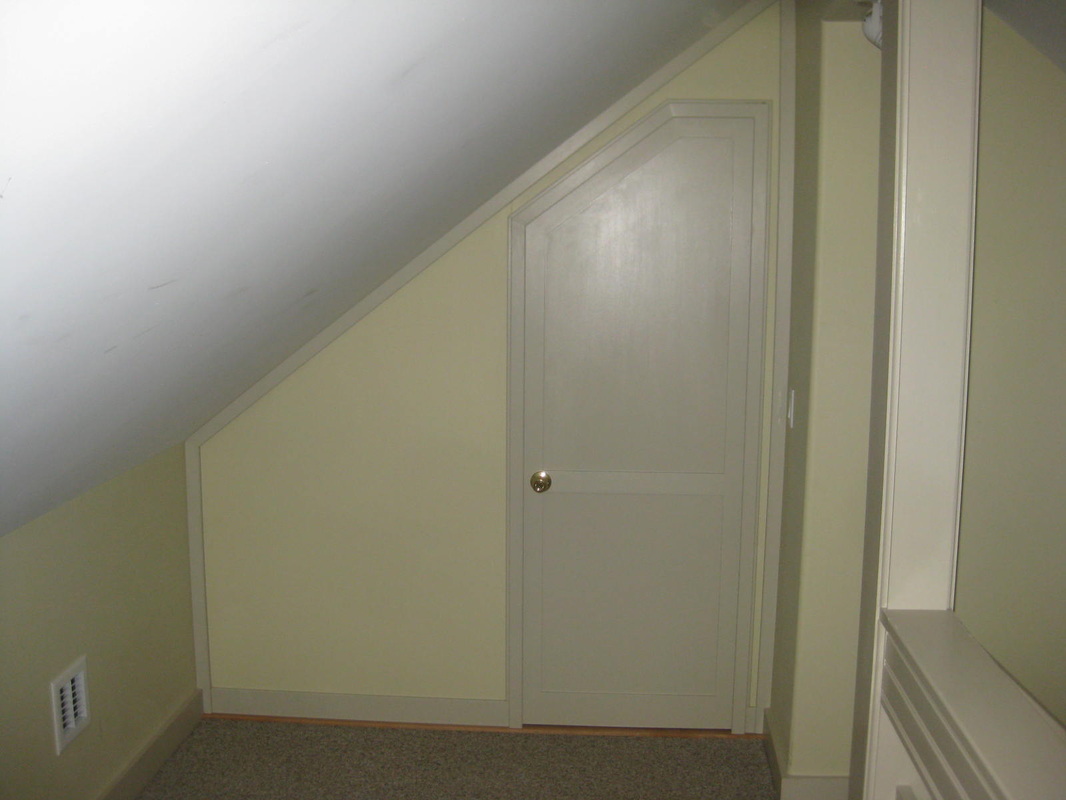 So here is the finished product, It looks as though it was always there. No Muss No fuss.
6 hours on the job site, clean and no wet paint. 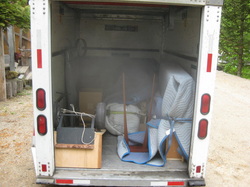 Everything packed and ready to travel, luckely we didn't need to travel far, about 45 mins. (Sorry the picture is so cloudy I had some dust on the lens.) 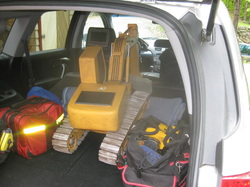 Had to make sure we brought the heavy equipment. You never know what you'll run into. 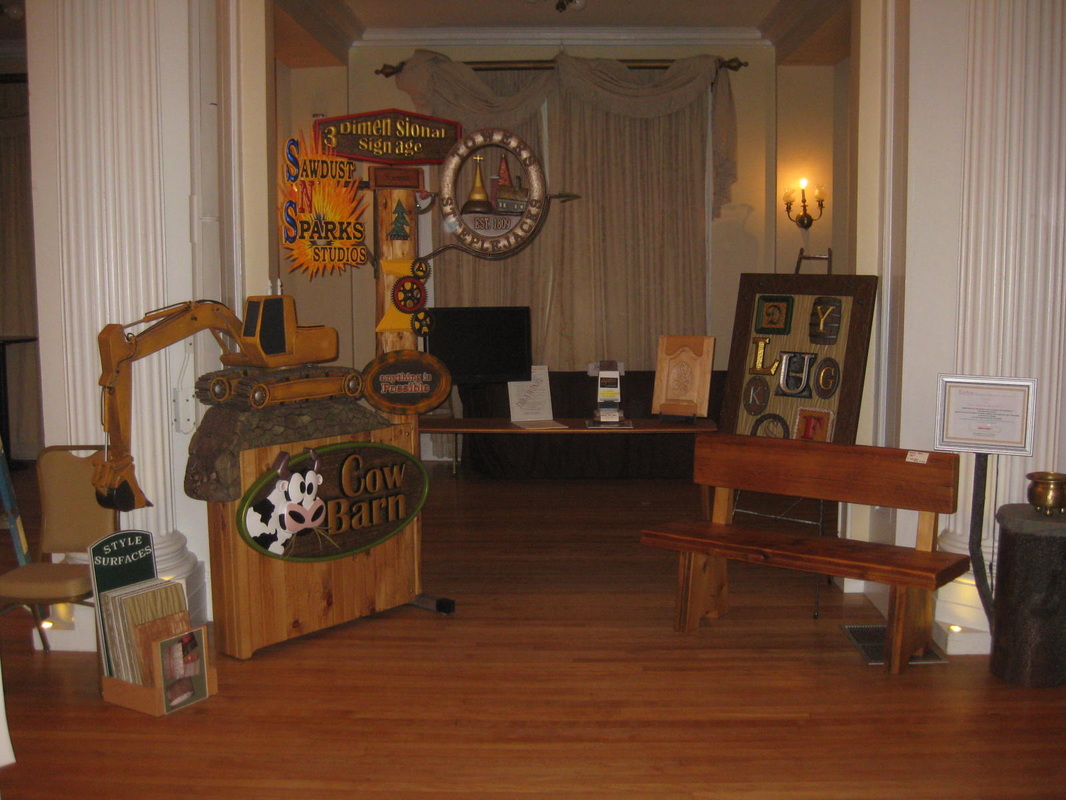 Then after alittle of this and a little of that we were ready to show off.
The show was located at the Omni Mount Washington hotel in Bretton Woods NH. We had the pleasure of spending the Night at the hotel the Night before the show, Good thing the exibition hall was total chaos the morning of the show. I was pleased with the exposure we received and I was able to make lots of good contacts. we'll see what happens the next few months. I'd like to thank my sales staff Kim (my lovely wife ) & Alex (our son) and all the support from family & freinds. P.S. Note for future shows, If you want to win best of show give away samples of alcohol. We did a drawing for 3 chances to win a one square foot custom, personalized sign. needless to say we didn't win best of show :( 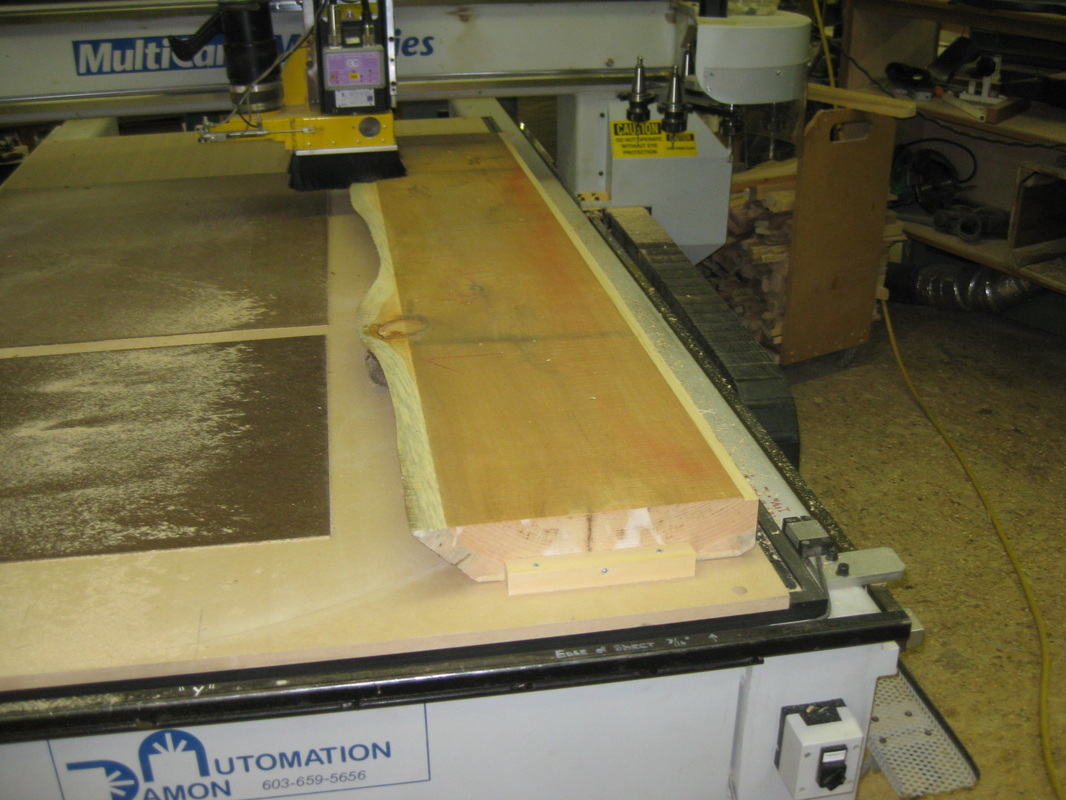 One of the most difficult things to accomplish is to perfectly flatten Large pieces.
You can run these thru a planner or a wide belt sander but they will still have some shape to them. They will be smooth but they will not be Flat. If they are bowed or twisted they will still be bowed and twisted. The CNC is the perfect tool for this process. I can take a piece as large as 50" X 101" and up to 6 " thick and surface the two sides and It will be perfectly flat and the same thickness throughout.  Back at it this weekend, I was able to get the decking on with the exception of the outside band. I rough cut the decking at the edges at about 3/8 " larger than the finished cut, I wanted to allow the material to acclamate and shink a little before I made the final cut. I'll let this sit for a week or so and then make the final cut and install the outside band of decking. With all the decking options I chose to go with stk( solid,tight,knot) 5/4 x 6 cedar. With the composites costing nearly tripple and the fact that I just don't like how the composites look after the age, I opted for real wood. The deck I removed was about 18 yrs old and the decking stk cedar was still solid. 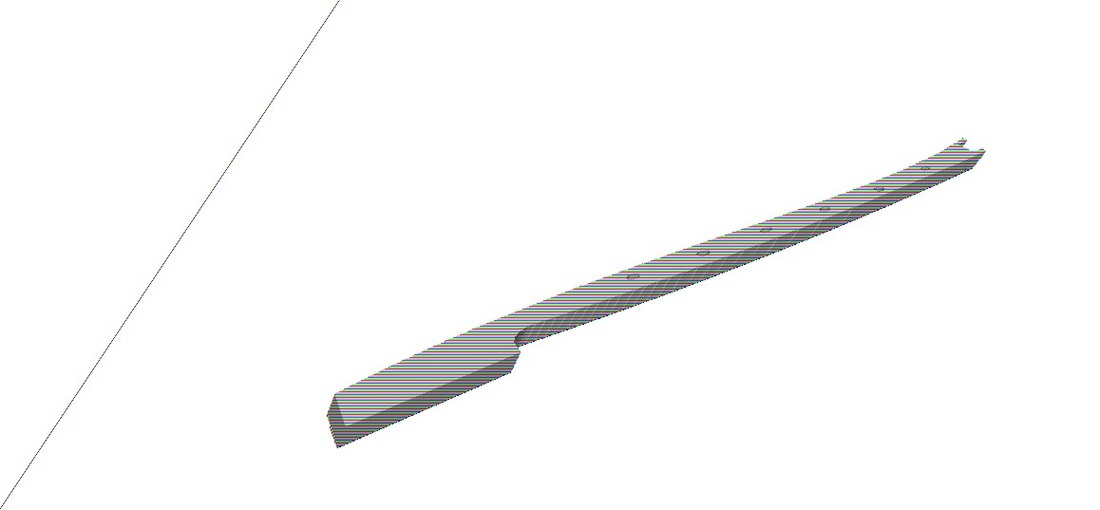 I have been going back and fourth with the type of rail system I wanted to use. I designed this simple but unique post using my Enroute software and I will cut these out on the Multicam CNC router. The section to the left is the bottom end which will get thru bolted to the deck frame perimeter ( six on each side about 24" on center). If you look close these posts will have holes drilled (by the router) I plan on getting 1/2" bark or vine textured steel bars that will be inserted horizontally through the posts. This will get capped off with a sub rail and a cap rail of the same cedar used for the decking.
The weather was cooperative and I was able to make some good progress on our deck this past week.  I had the materials delivered and using the drawing I did in sketch-up, I was able to pre cut all my parts. This shot shows a jig I made to put a dado in the ledger that mounts to the wall of the house. This dado accepts the joists for the deck frame. 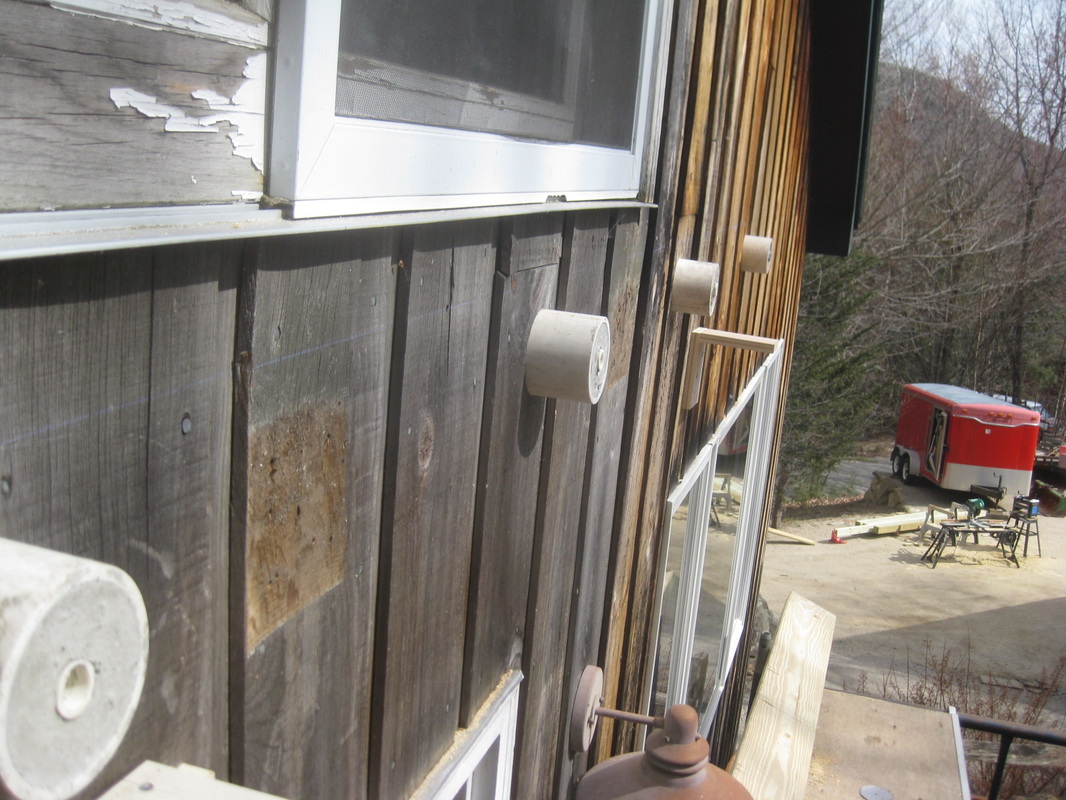 This is the Stand off deck mounting system (DAJ'S DECK MOUNTING SYSTEM . INGENUITY) I've been using for a few years now and seams to work very well. I start with a piece of 3" pvc pipe and a piece of 1\2' pipe, I make a jig to hold the 1/2" pipe in the center of the 3" and pour concrete in the 3" pipe. Then I drill a hole that (fits the 3"pipe) through the siding and I'll lag bolt the deck ledger through this stand off into the framing of the house. Note that I bed the stand off in urethane caulking to seal out any water as I install the system.  This was at the end of day one! Kim assisted me with the two long outside pieces (what a trouper!) 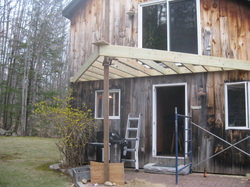 End of Day two! Joists in place, support for post dug in, concrete poured and a granite block set up to grade, cut and tappering the support post. Stay tunned for more thrilling action!!!!!!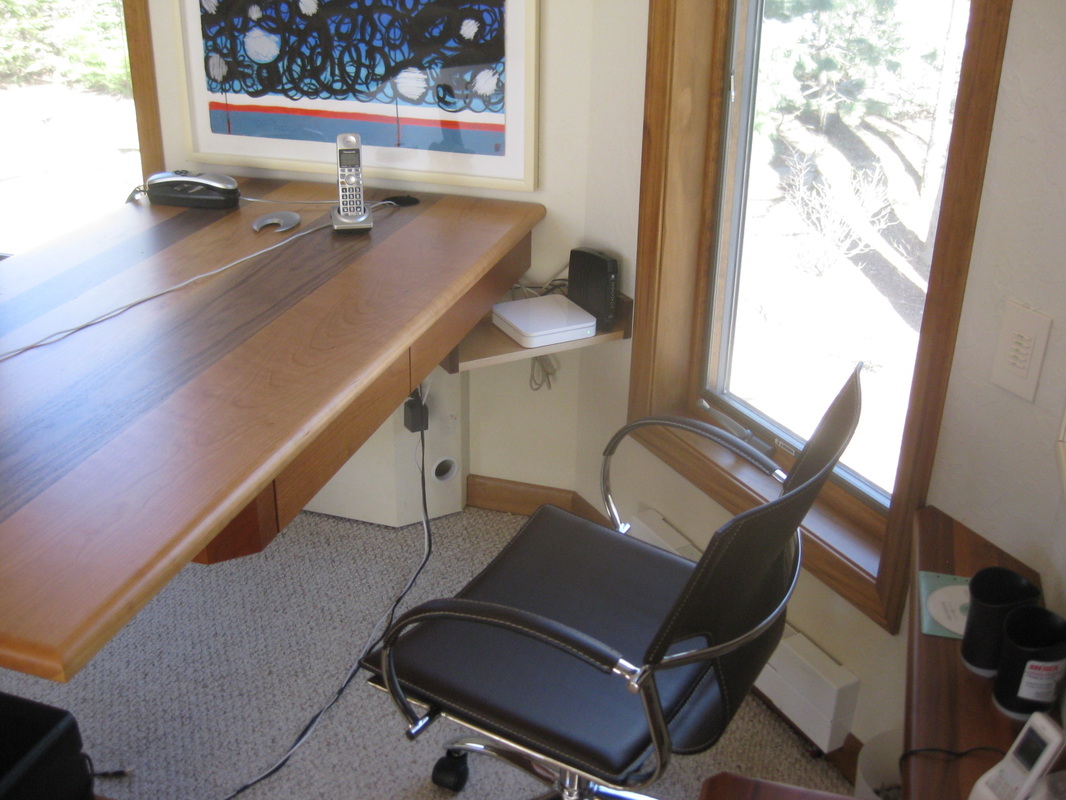 This desk is one I had built a few years ago and I decided it needed some TLC. The Original desk top was glued up Then the client decided he wanted it larger in width and length, so rather than make a whole new top I decided I'd try to add a walnut band around the perimeter. I sort of knew that the possibility of failure was great due to the fact that the expansion rates of cross grain and long grain are so different. Well I was not disapointed! This piece failed as expected. So I recently remade the top and replaced the original. ( this picture is showing the replacement top. 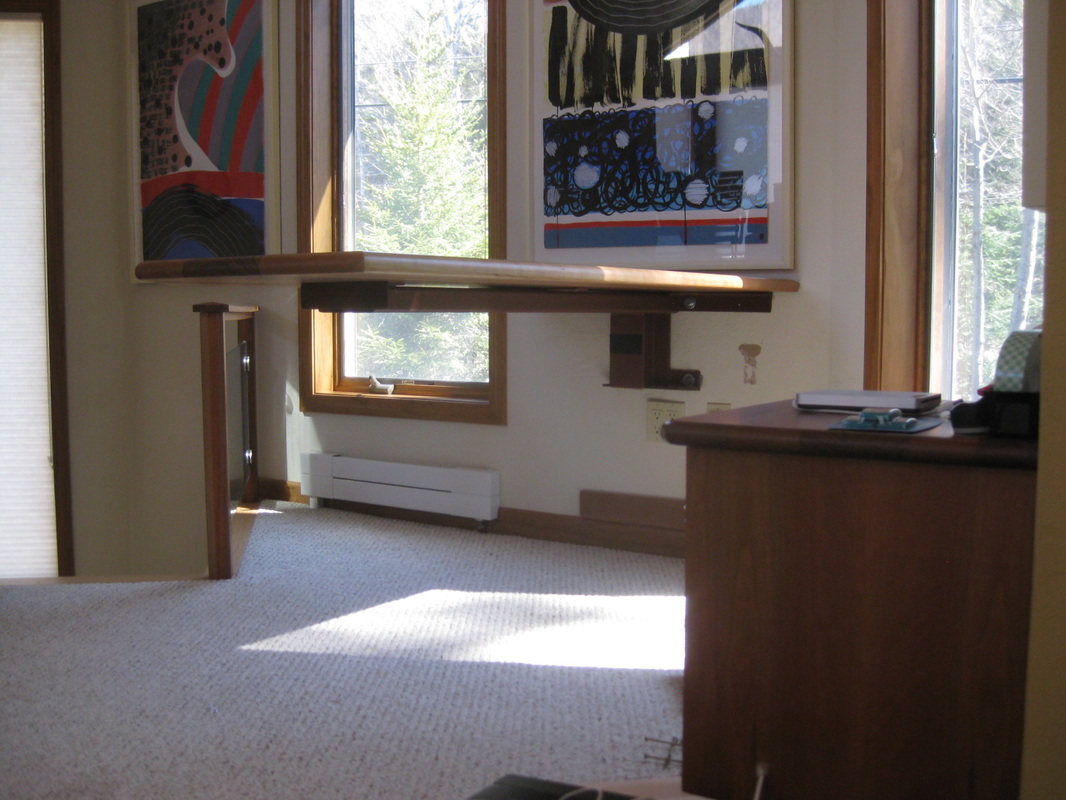 But The really cool thing about this piece is that there are no legs under this desk. ( the post you see in this picture is actually the stair hand rail in the background.) The steel frame that is exposed is bolted to the wall and the desk floats out in space. ( one of the advantages of having a welding shop incorporated with woodworking shop). 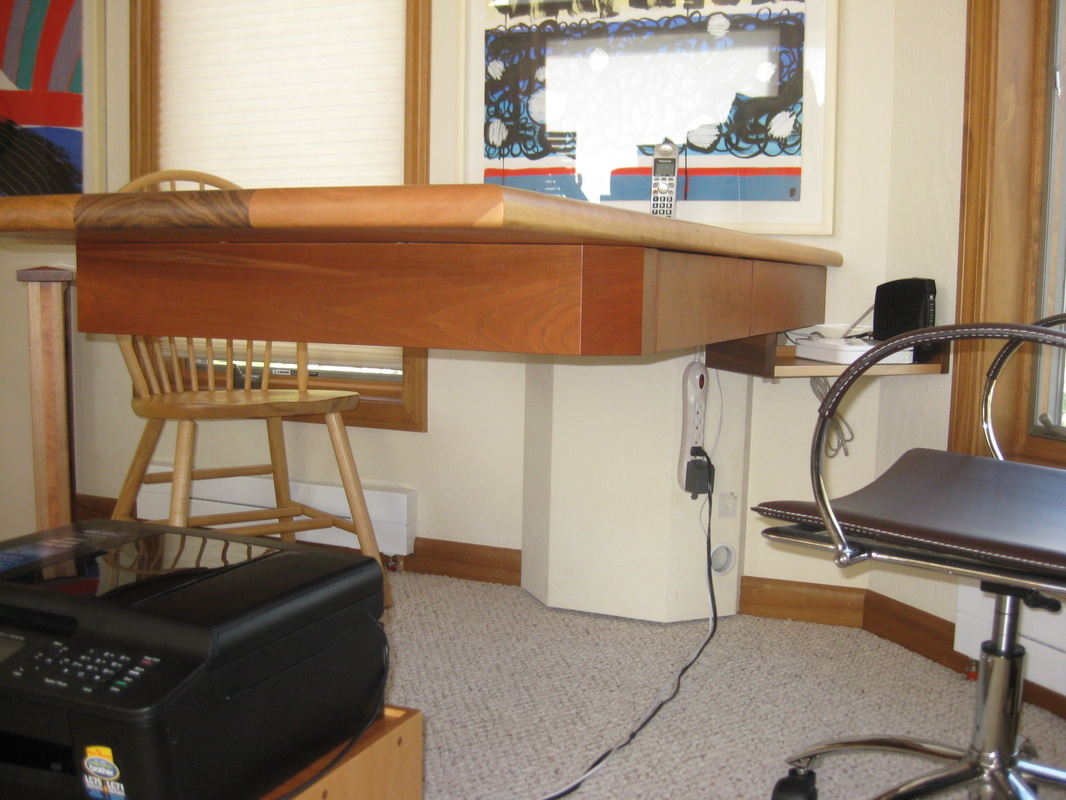 This is the finished project. There are three drawers (two on the right and one on the opposite side of the desk) located in this apron that covers the steel frame.
The champered box under the desk is there to hide wiring etc. it's hinged to the wall and swings out of the way for easy access. 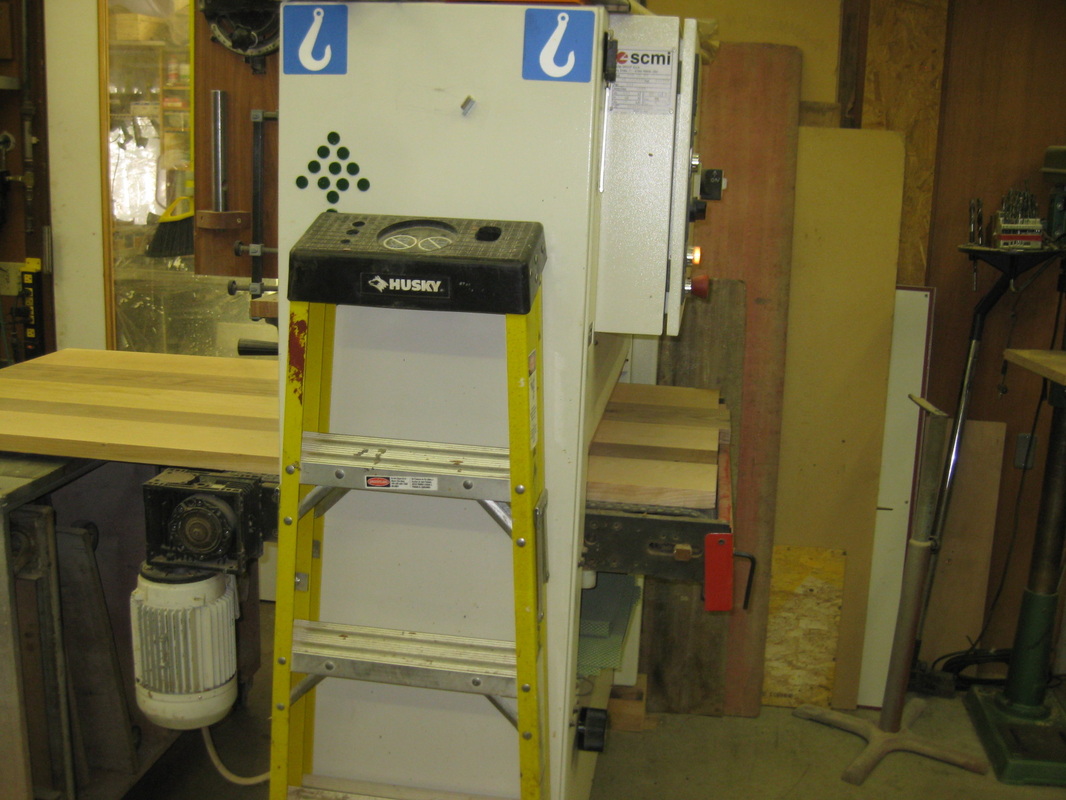 I have invested in equipment that assists me in the process of taking rough lumber and processing it to achieve high quality Professional finished pieces. This shot shows a desk top of Cherry and Walnut being finish sanded utilizing my 37" wide belt sander . 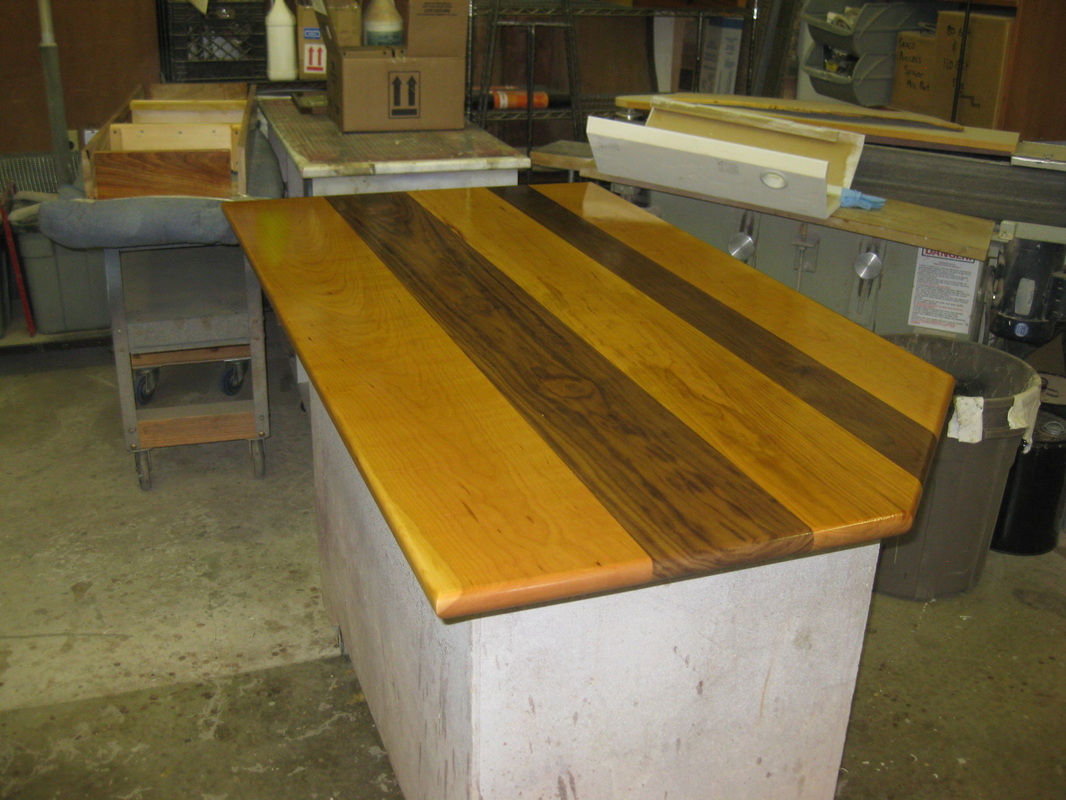 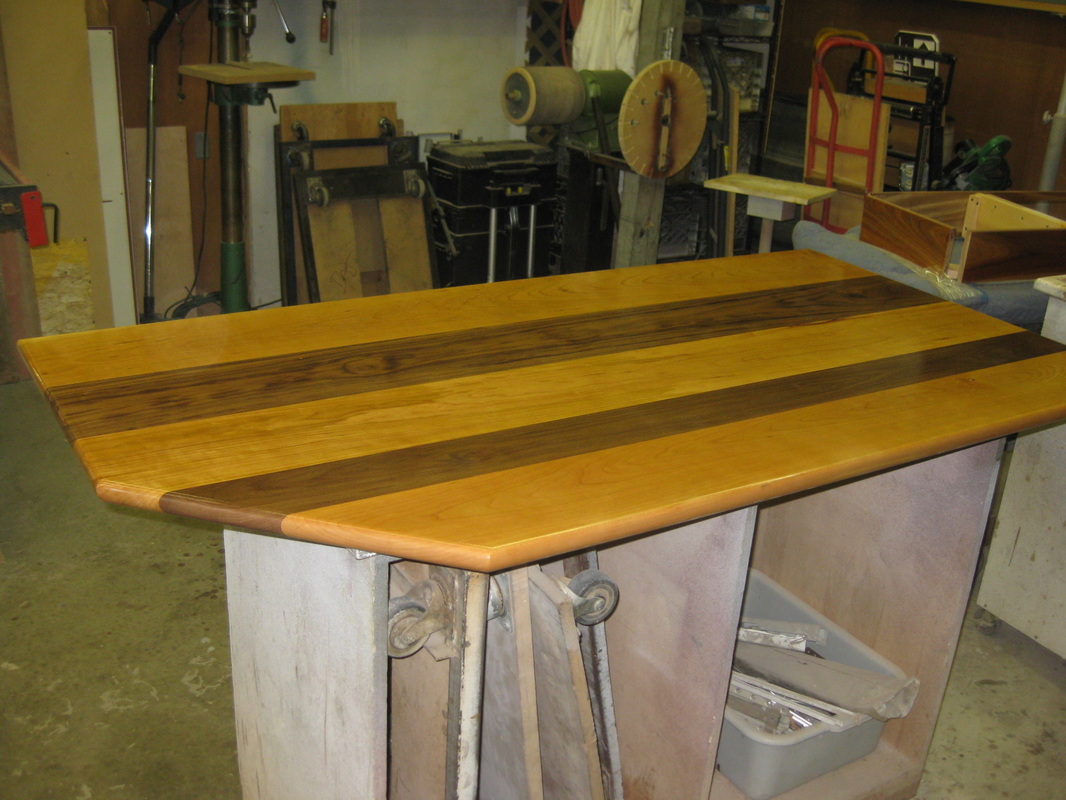 And above are some pics of the top with the first coat of sealer applied.
NOTE* This is the bottom side of this piece. Stay Tunned and you'll see who I can make this float in mid air. |

authorI've pretty much had my hands on wood for the most part of my Life. Started in High school, on Marthas Vineyard Mass.Worked under a Father and son Partnership that taught me the valuable foundation of what High End work really is. Archives
February 2016
Categories
All
|
 RSS Feed
